

Find "GPRS"
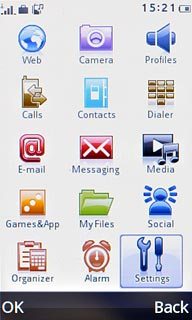
Press the Menu key.
Find "GPRS"
Press Settings.
Find "GPRS"
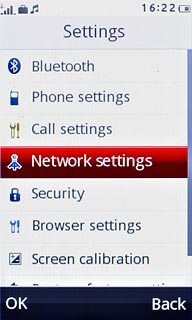
Press Network settings.
Find "GPRS"
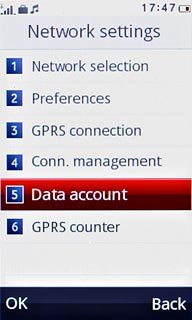
Press Data account.
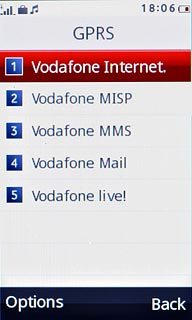
Find "GPRS"
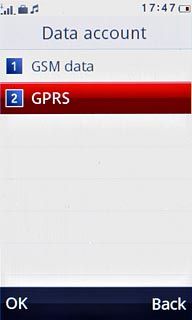
Press GPRS.
Create new data connection
Press Options.
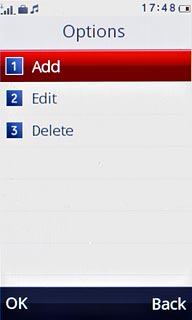
Create new data connection
Press Add.


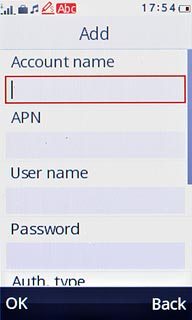
Enter name
Key in Vodafone MMS

Enter APN
Press the field below APN.
Key in mms.vodafone.net
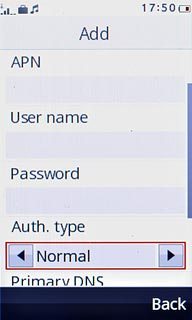
Select authentication type
Press arrow right below Auth. type to select Normal.
Save data connection
Press OK.
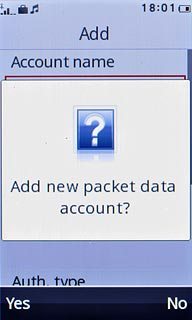
Save data connection
Press Yes to confirm.
Save data connection
Press Disconnect to return to standby mode.
Find "Profiles"
Press the Menu key.
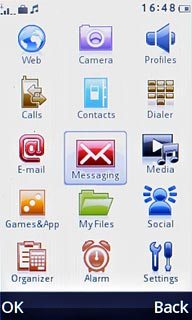
Find "Profiles"
Press Messaging.
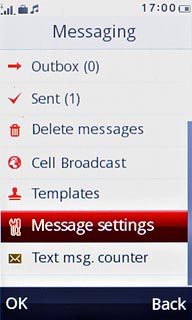
Find "Profiles"
Press Message settings.
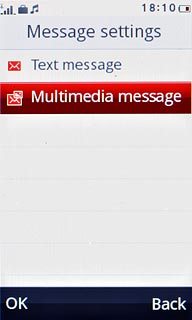
Find "Profiles"
Press Multimedia message.
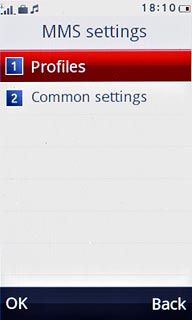
Find "Profiles"
Press Profiles.

Enter profile name
Press Add new.
Key in Vodafone MMS
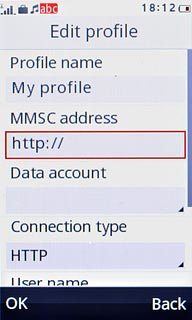
Enter picture messaging server
Press the field below MMSC address.
Key in http://www.vodafone.ie/mms
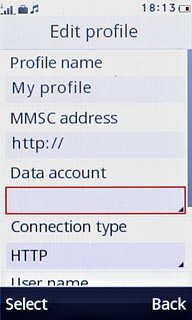
Select data connection
Press the drop down list below Data account.

Select data connection
Press GPRS.
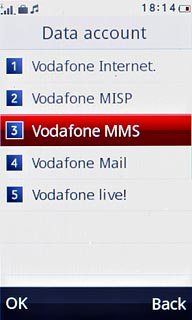
Select data connection
Press Vodafone MMS.

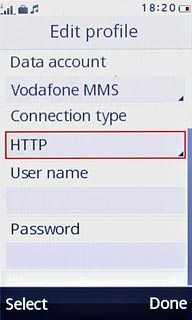
Select connection type
Press the drop down list below Connection type.
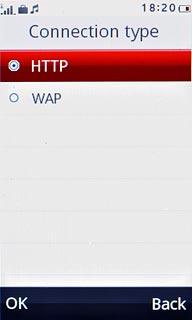
Select connection type
Press HTTP.
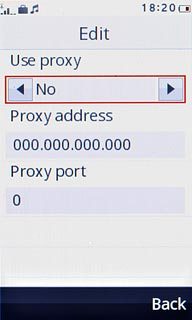
Enable proxy
Press arrow right below Use proxy to select Yes.
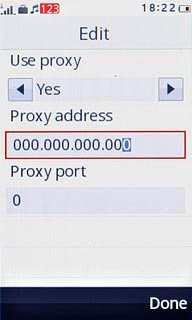
Enter IP address
Press the field below Proxy address.
Key in 010.024.059.200

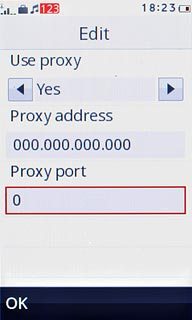
Enter port
Press the field below Proxy port.
Key in 80
Enter port
Press OK.
Enter port
Press Done.

Enter port
Press Yes to confirm.

Enter port
Press Back.

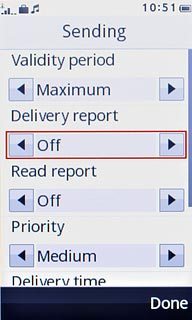
Select validity period
Press Common settings.
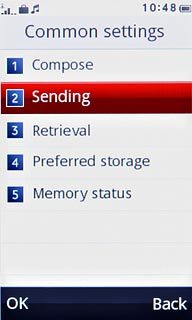
Select validity period
Press Sending.
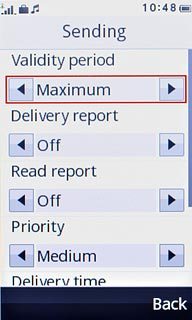
Select validity period
Press arrow right below Validity period to select Maximum.
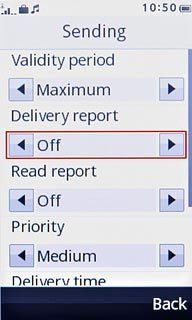
Activate or deactivate delivery reports
Press arrow right below Delivery report to select On or Off.
Activate or deactivate delivery reports
Press Done.
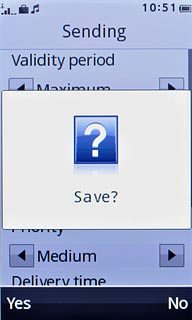
Activate or deactivate delivery reports
Press Yes to confirm.
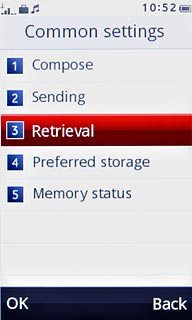
Select picture message retrieval in home network
Press Retrieval.
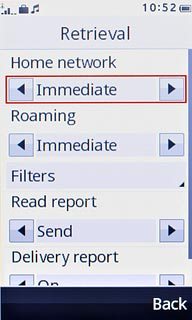
Select picture message retrieval in home network
Press arrow right below Home network to select Immediate.
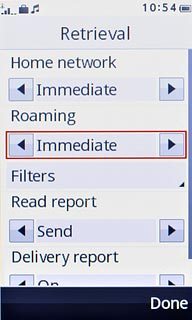
Select picture message retrieval when roaming
Press arrow right below Roaming to select Immediate.

Select picture message retrieval when roaming
Press Done.
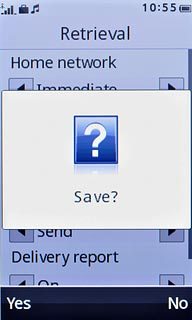
Select picture message retrieval when roaming
Press Yes to confirm.
Exit
Press Disconnect to return to standby mode.
1 Find "GPRS"
2 Create new data connection
3 Enter name

4 Enter APN
Key in mms.vodafone.net
5 Select authentication type
6 Save data connection
7 Find "Profiles"
8 Enter profile name
Key in Vodafone MMS
9 Enter picture messaging server
Key in http://www.vodafone.ie/mms
10 Select data connection
11 Select connection type
12 Enable proxy
13 Enter IP address
Key in 010.024.059.200
14 Enter port
Key in 80
15 Select validity period
16 Activate or deactivate delivery reports
17 Select picture message retrieval in home network
18 Select picture message retrieval when roaming
19 Exit