
Find "GPRS"
Press Menu.
Find "GPRS"
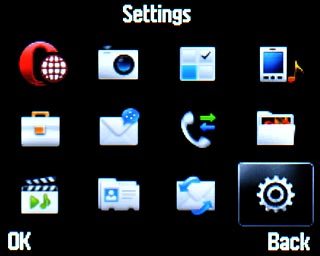
Scroll to Settings and press the Navigation key.
Find "GPRS"
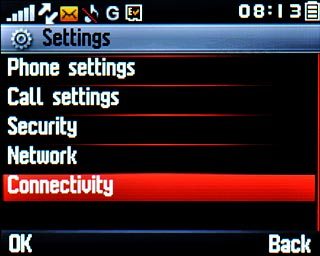
Scroll to Connectivity and press the Navigation key.
Find "GPRS"
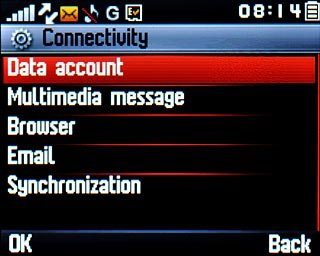
Scroll to Data account and press the Navigation key.
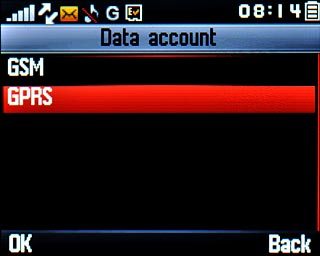
Find "GPRS"
Scroll to GPRS and press the Navigation key.

Create new data connection
If no data connections have been created:
Press Create.

Create new data connection
If data connections have been created already:
Press Options.
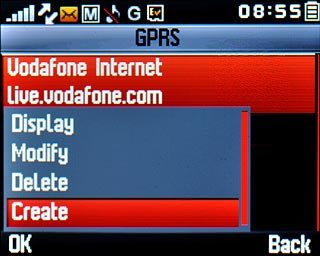
Create new data connection
Scroll to Create and press the Navigation key.
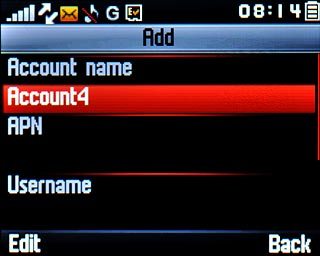
Enter data connection name
Highlight the field below Account name and press Edit.

Enter data connection name
Key in Vodafone Mail and press the Navigation key twice.
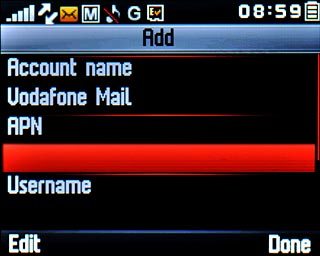
Enter APN
Highlight the field below APN and press Edit.
Key in live.vodafone.com

Enter APN
Press the Navigation key twice.
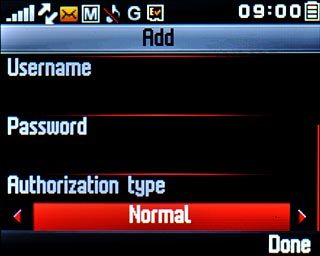
Select authentication type
Highlight the field below Authorization type.

Select authentication type
Press Navigation key right to select Normal.

Save data connection
Press Done.

Save data connection
Press Yes to confirm.

Save data connection
Press Disconnect to return to standby mode.

Find "Email"
Press Menu.
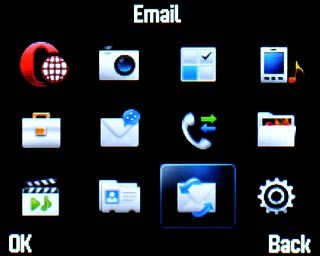
Find "Email"
Scroll to Email and press the Navigation key.

Create new email account
If no email accounts have been created:
Press Create.

Create new email account
If email accounts have been created already:
Press Options.
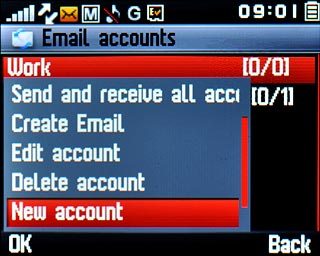
Create new email account
Scroll to New account and press the Navigation key.
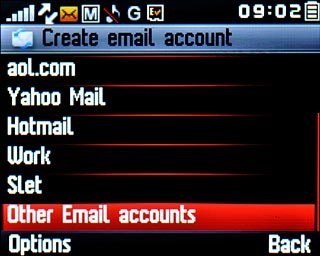
Create new email account
Scroll to Other Email accounts and press the Navigation key.

Create new email account
Press Yes to confirm.
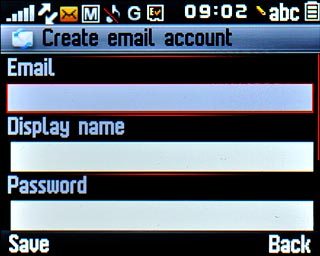
Enter email address
Highlight the field below Email and key in your email address.
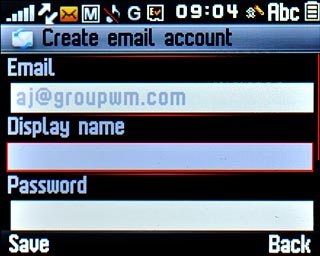
Enter sender name
Highlight the field below Display name and key in the required sender name.
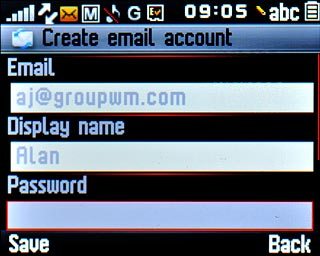
Enter password
Highlight the field below Password and key in the password for your email account at your email provider.
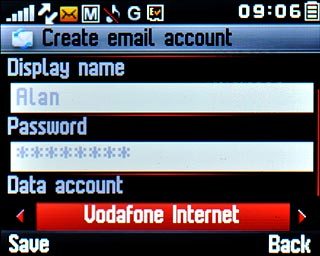
Select data connection
Highlight the field below Data account and press Navigation key right to select Vodafone Mail.
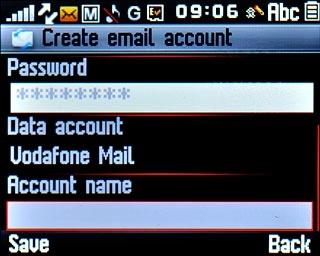
Enter email account name
Highlight the field below Account name and key in a name for your email account (such as Private or Work).

Enter email account name
Press Save.
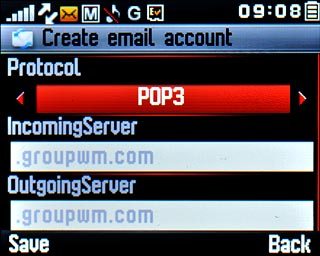
Select server type
Highlight the field below Protocol and press Navigation key right to select POP3.
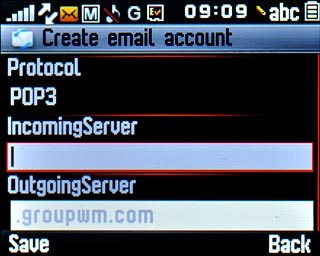
Enter incoming server
Highlight the field below IncomingServer and key in the name or IP address of your email provider's incoming server.
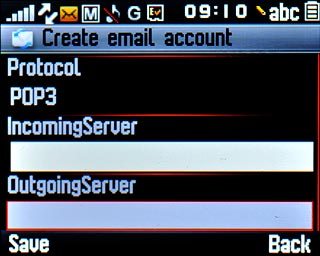
Enter outgoing server
Highlight the field below OutgoingServer and key in the name or IP address of your email provider's outgoing server.

Enter outgoing server
Press Save.

Enter outgoing server
Press Yes.
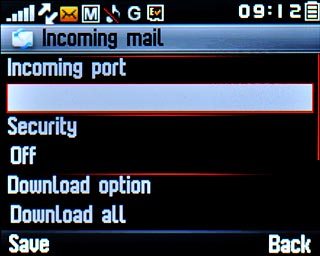
Enter incoming port
Highlight the field below Incoming port and key in 110
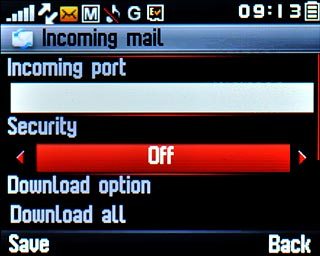
Turn off SSL encryption of incoming email messages
Highlight the field below Security and press Navigation key right to select Off.
Turn off SSL encryption of incoming email messages
Press Save.
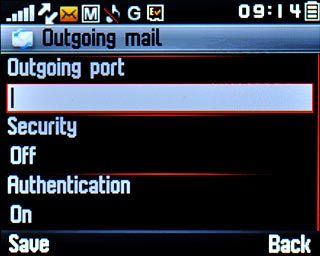
Enter outgoing port
Highlight the field below Outgoing port and key in 25
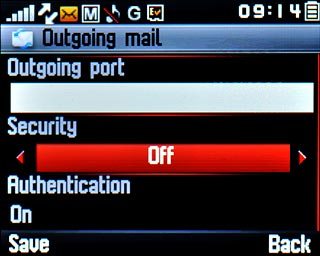
Turn off SSL encryption of outgoing email messages
Highlight the field below Security and press Navigation key right to select Off.
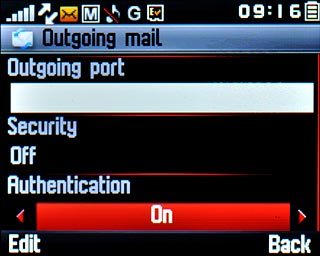
Turn on SMTP authentication
Highlight the field below Authentication and press Navigation key right to select On.

Turn on SMTP authentication
Press Navigation key up.

Turn on SMTP authentication
Press Save.
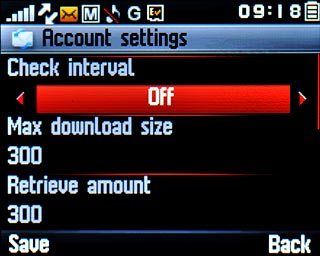
Select setting for retrieving new email messages
Highlight the field below Check interval to select Off or the required period.
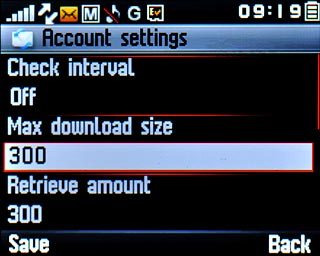
Select setting for email message size
Highlight the field below Max download size.
Key in the required maximum email message size to be retrieved.
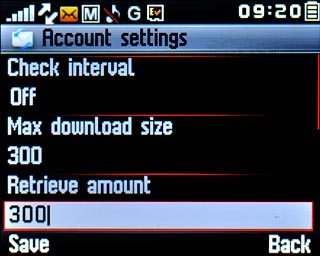
Select number of email messages to retrieve
Highlight the field below Retrieve amount.
Key in the required number of email messages to be retrieved in one go.

Save email account
Press Save.

Save email account
Press Yes.

Exit
Press Disconnect to return to standby mode.
1 Find "GPRS"
2 Create new data connection
Press Create.
Press Options.
3 Enter data connection name
4 Enter APN
Key in live.vodafone.com
5 Select authentication type
6 Save data connection
7 Find "Email"
8 Create new email account
Press Create.
Press Options.
9 Enter email address
10 Enter sender name
11 Enter password
12 Select data connection
13 Enter email account name
14 Select server type
15 Enter incoming server
16 Enter outgoing server
17 Enter incoming port
18 Turn off SSL encryption of incoming email messages
19 Enter outgoing port
20 Turn off SSL encryption of outgoing email messages
21 Turn on SMTP authentication
22 Select setting for retrieving new email messages
23 Select setting for email message size
Key in the required maximum email message size to be retrieved.
24 Select number of email messages to retrieve
Key in the required number of email messages to be retrieved in one go.
25 Save email account
26 Exit