1. Find "Accounts"
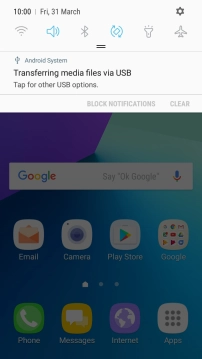
Slide your finger downwards starting from the top of the screen.
![](http://wmstatic.global.ssl.fastly.net/ml/7140723-f-e0586a8c-55e3-406f-89d6-133c37164014.png?width=202&height=362)
Press the settings icon.
![](http://wmstatic.global.ssl.fastly.net/ml/7140723-f-34dfd033-4867-4e2c-b85c-6c3fd978547f.png?width=202&height=362)
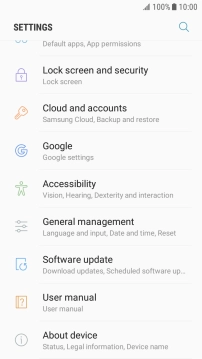
Press Cloud and accounts.
![](http://wmstatic.global.ssl.fastly.net/ml/7140723-f-7de72b7d-cdf5-4436-8955-377f4cdcbc40.png?width=202&height=362)
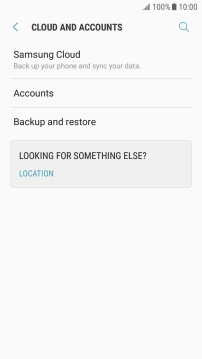
Press Accounts.
![](http://wmstatic.global.ssl.fastly.net/ml/7140723-f-e8a1123a-ea91-417e-b2dd-3e1f0539521e.png?width=202&height=362)
2. Turn automatic synchronisation of content on or off
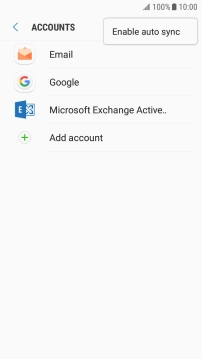
Press the menu icon.
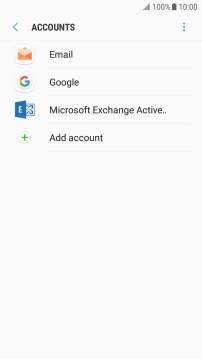
![](http://wmstatic.global.ssl.fastly.net/ml/7140723-f-6dc63658-7695-4285-9e9c-57a4327a527c.png?width=202&height=362)
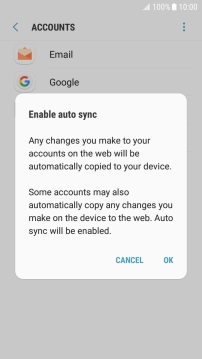
Press Enable auto sync.
![](http://wmstatic.global.ssl.fastly.net/ml/7140723-f-847fe2b5-dc4c-4ba9-ac6d-11e77cddea8b.png?width=202&height=362)
Press OK to turn on the function.
![](http://wmstatic.global.ssl.fastly.net/ml/7140723-f-05d12a0f-077a-4b52-bf0a-9ae5c5355400.png?width=202&height=362)
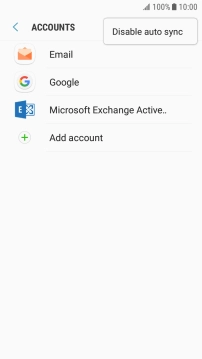
Press the menu icon.
![](http://wmstatic.global.ssl.fastly.net/ml/7140723-f-6dc63658-7695-4285-9e9c-57a4327a527c.png?width=202&height=362)
Press Disable auto sync.
![](http://wmstatic.global.ssl.fastly.net/ml/7140723-f-6b89aa3f-7f69-4226-9a93-4c70f1e5e6fb.png?width=202&height=362)
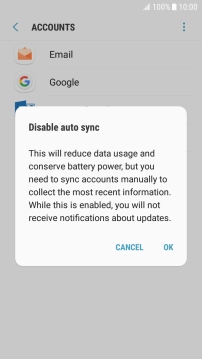
Press OK to turn off the function.
![](http://wmstatic.global.ssl.fastly.net/ml/7140723-f-27bcb925-bd09-44d1-944e-e873cf221597.png?width=202&height=362)
3. Return to the home screen
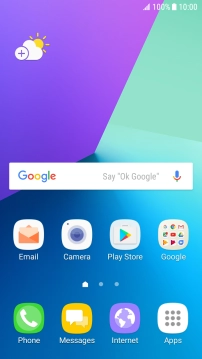
Press the Home key to return to the home screen.
![](http://wmstatic.global.ssl.fastly.net/ml/7140723-f-6dc63658-7695-4285-9e9c-57a4327a527c.png?width=202&height=362)