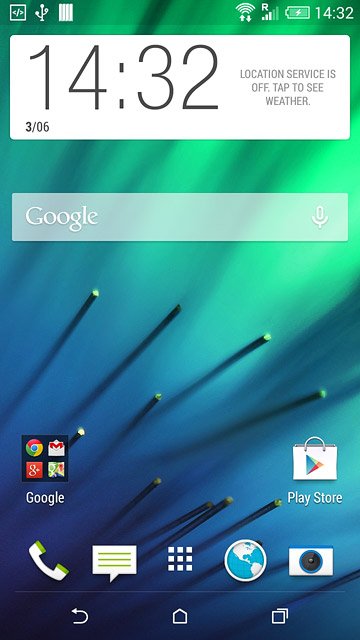
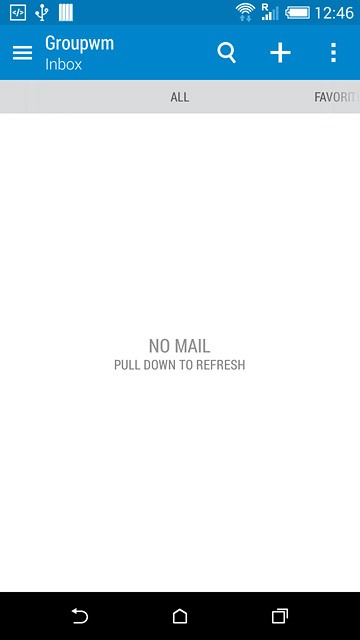
Find "Mail"
Press the menu icon.
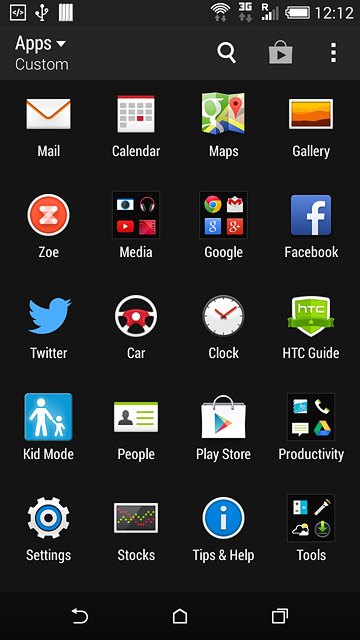
Find "Mail"
Press Mail.
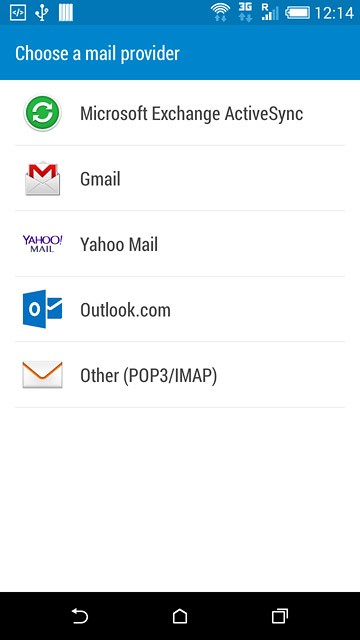
Create new email account
Press the required provider or Other (POP3/IMAP).


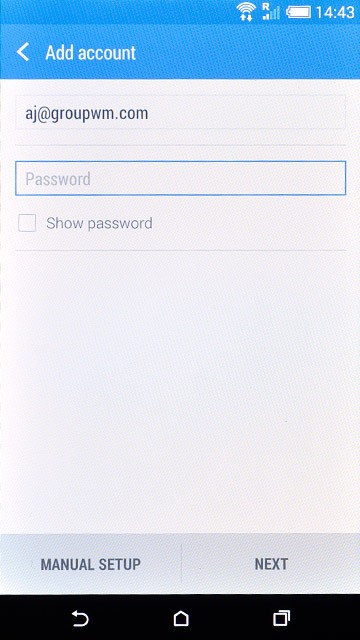
Enter email address
Key in your email address.
Enter password
Press Password and key in the password for your email account.
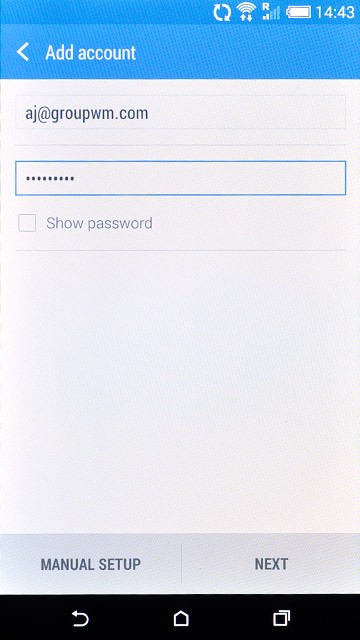
Enter password
Press NEXT.

Select server type
Press the field below "PROTOCOL".
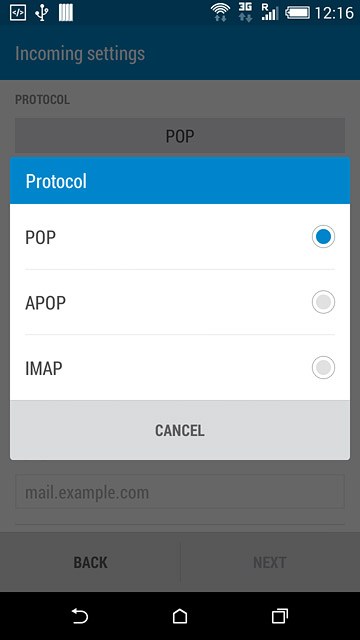
Select server type
Press POP.
Enter username
Key in the username for your email account.

Enter incoming server
Press the field below "POP SERVER" and key in the name of your email provider's incoming server.
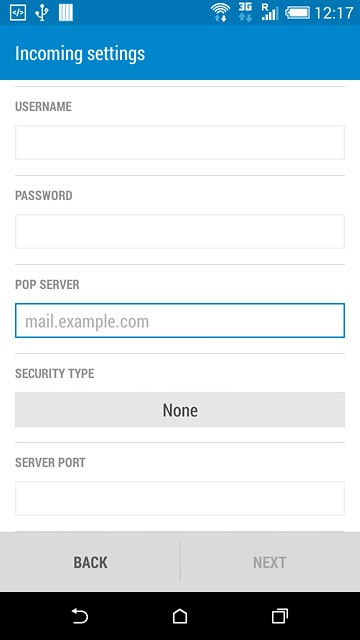
Turn off encryption of incoming email messages
Press the field below "SECURITY TYPE".
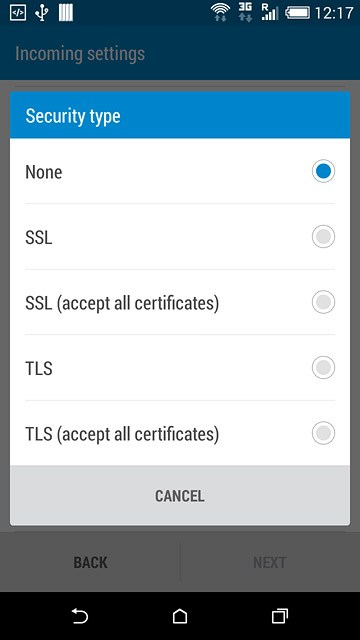
Turn off encryption of incoming email messages
Press None.
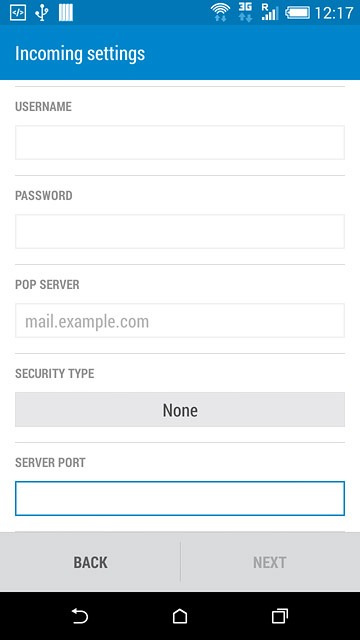
Enter incoming port
Press the field below "SERVER PORT" and key in 110
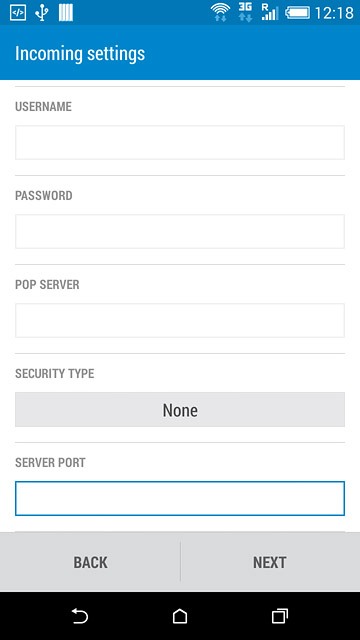
Enter incoming port
Press NEXT.
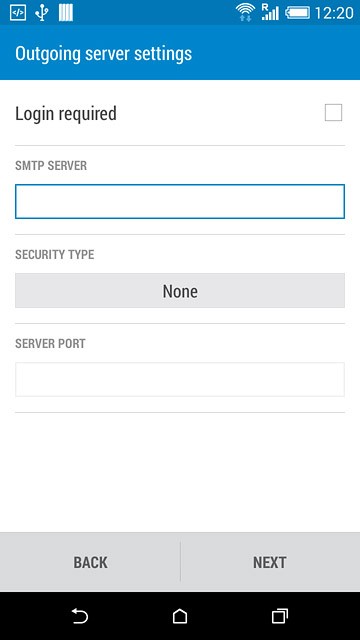
Turn off SMTP authentication
Press Login required until the display tells you that the function is turned off.
Enter outgoing server
Press the field below "SMTP SERVER" and key in mail.vodafone.ie
Turn off encryption of outgoing email messages
Press the field below "SECURITY TYPE".
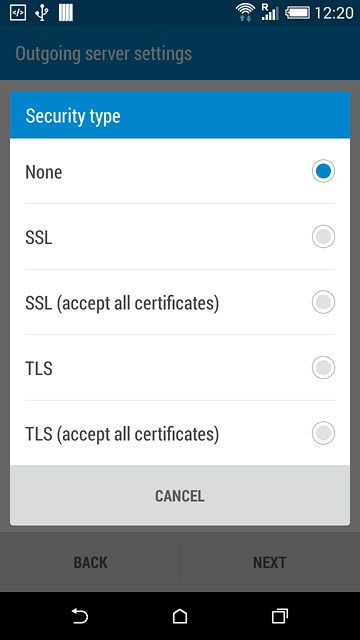
Turn off encryption of outgoing email messages
Press None.
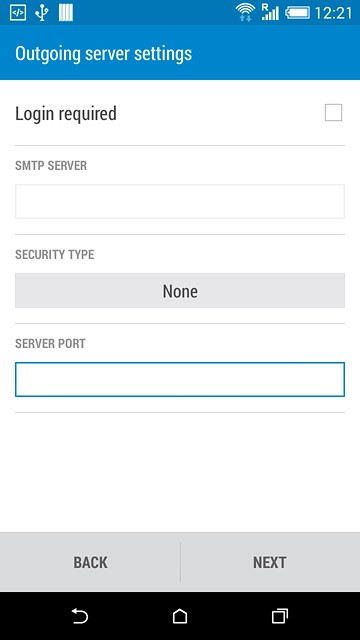
Enter outgoing port
Press the field below "SERVER PORT" and key in 25
Enter outgoing port
Press NEXT.
Enter email account name
Key in a name for your email account.
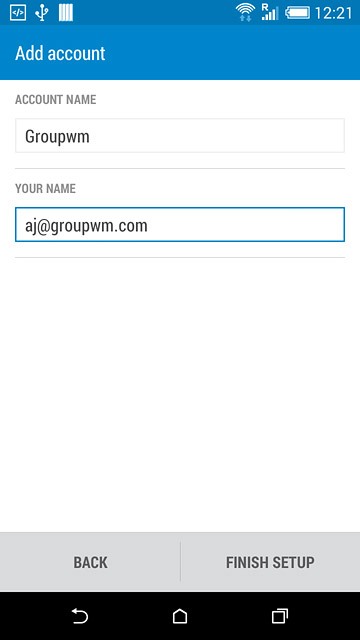
Enter sender name
Press the field below "YOUR NAME" and key in the required sender name.
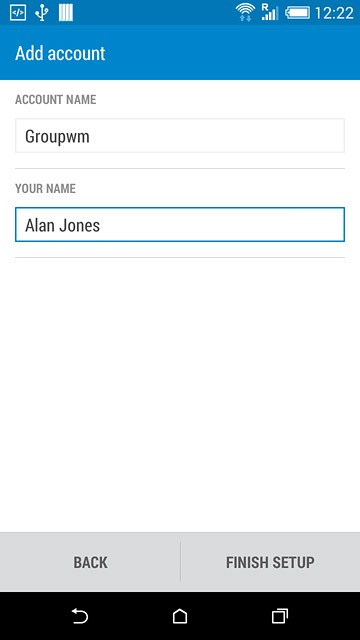
Finish setup
Press FINISH SETUP.
Wait while your phone retrieves new email messages.
Select setting for synchronisation during peak hours
Press the menu icon.
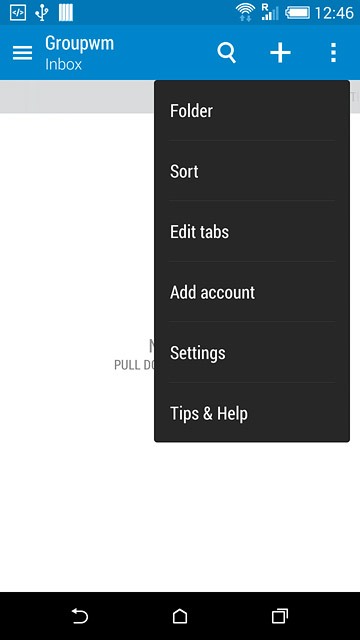
Select setting for synchronisation during peak hours
Press Settings.
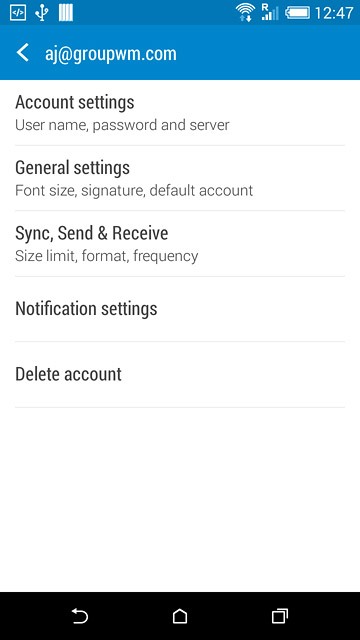
Select setting for synchronisation during peak hours
Press Sync, Send & Receive.
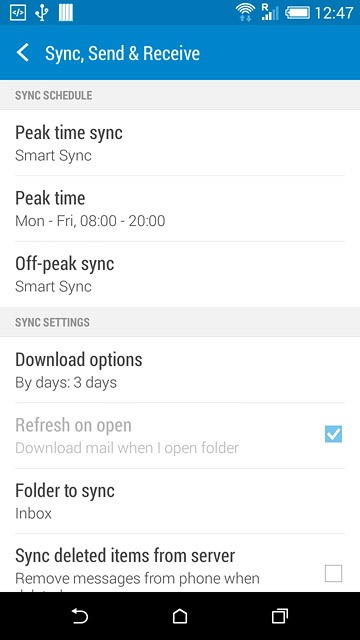
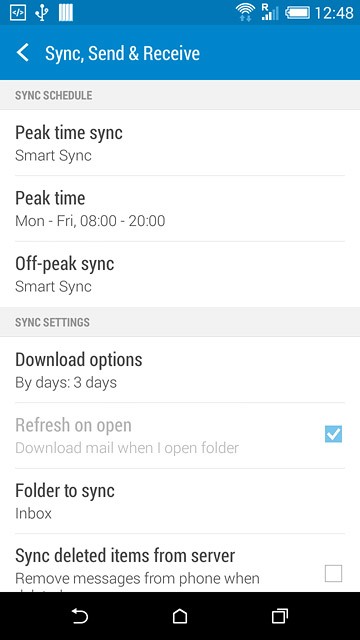
Select setting for synchronisation during peak hours
Press Peak time sync.

Select setting for synchronisation during peak hours
Press Smart Sync, Manual or the required interval.

Select setting for synchronisation during off-peak hours
Press Off-peak sync.
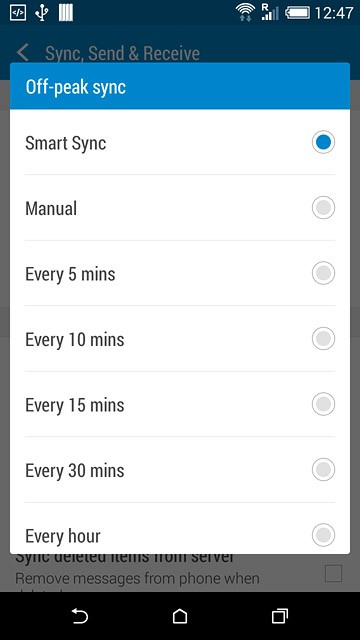
Select setting for synchronisation during off-peak hours
Press Smart Sync, Manual or the required interval.
Select period for synchronisation of email messages
Press Download options.
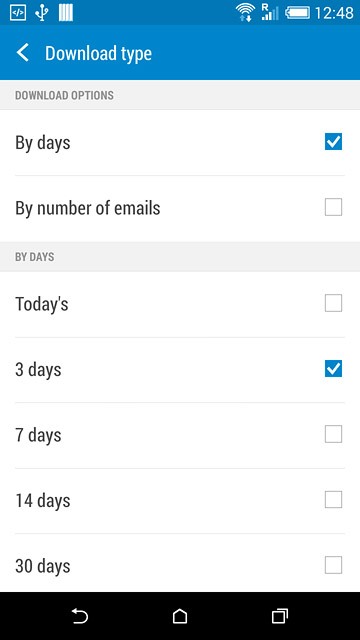
Select period for synchronisation of email messages
Press the required setting.

Select period for synchronisation of email messages
Press the return icon several times to return to the inbox.

Return to the home screen
Press the home icon to return to the home screen.
1 Find "Mail"
2 Create new email account
3 Enter email address

4 Enter password
5 Select server type
6 Enter username
7 Enter incoming server
8 Turn off encryption of incoming email messages
9 Enter incoming port
10 Turn off SMTP authentication
11 Enter outgoing server
12 Turn off encryption of outgoing email messages
13 Enter outgoing port
14 Enter email account name
15 Enter sender name
16 Finish setup
Wait while your phone retrieves new email messages.
17 Select setting for synchronisation during peak hours
18 Select setting for synchronisation during off-peak hours
19 Select period for synchronisation of email messages
20 Return to the home screen