BlackBerry 8520 Curve

BlackBerry 8520 Curve

Create contact - BlackBerry 8520 Curve

Read help info

Follow these instructions to create a new contact.

Step 1 of 23

Find "Add Contact"

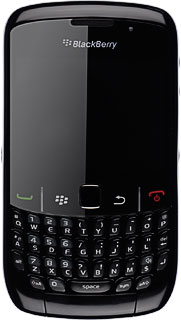
Press the Menu key.
Step 2 of 23

Find "Add Contact"

Scroll to Contacts and press the Navigation key.

Step 3 of 23

Find "Add Contact"

Scroll to Add Contact and press the Navigation key.

Step 4 of 23

Enter name

Highlight the field next to First and key in the required first name.

Step 5 of 23

Enter name

Highlight the field next to Last and key in the required last name.

Step 6 of 23

Enter email address

Highlight the field next to Email and key in the required email address.

Step 7 of 23

Enter phone number

Highlight the field next to the required number type and key in the required phone number.

Always begin phone numbers with a + followed by the country code, even for local phone numbers. This ensures that the phone numbers can be called even when you are abroad.
BlackBerry 8520 Curve
Step 8 of 23

Add more information

You can add more information to the contact. The following steps show two examples.
Choose one of the following options:
Assign picture, go to 5a.
Assign ringtone, go to 5b.

Step 9 of 23

5a - Assign picture

Press the Navigation key.

Step 10 of 23

5a - Assign picture

Scroll to Add Picture and press the Navigation key.

Step 11 of 23

5a - Assign picture

To use a saved picture:
Go to the required folder.
Highlight the required picture and press the Navigation key.

Step 12 of 23

5a - Assign picture

To take a new picture:
Scroll to Camera and press the Navigation key.

Step 13 of 23

5a - Assign picture

Point the camera lens at the required object and press the Camera key to take the picture.

Step 14 of 23

5a - Assign picture

Move the frame to the required position to select the required section.

Step 15 of 23

5a - Assign picture

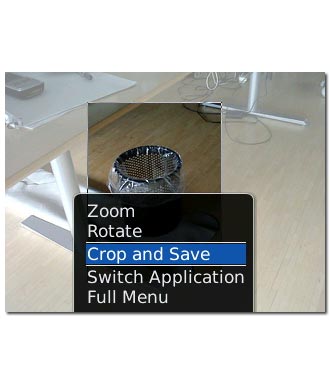
Press the Menu key.

Step 16 of 23

5a - Assign picture

Scroll to Crop and Save and press the Navigation key.

Step 17 of 23

5b - Assign ringtone

Press the Navigation key.

Step 18 of 23

5b - Assign ringtone

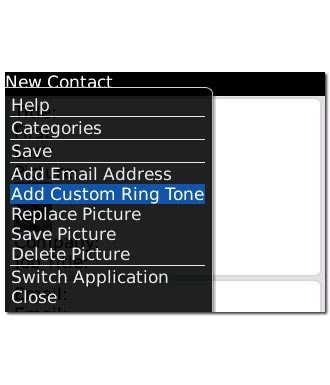
Press Add Custom Ring Tone and press the Navigation key.

Step 19 of 23

5b - Assign ringtone

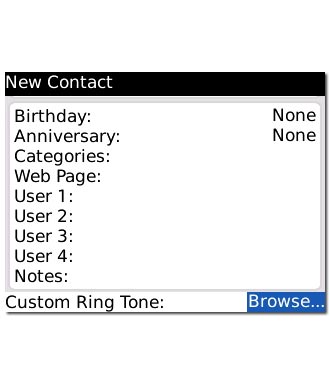
Scroll to Browse... next to Custom Ring Tone and press the Navigation key.

Step 20 of 23

5b - Assign ringtone

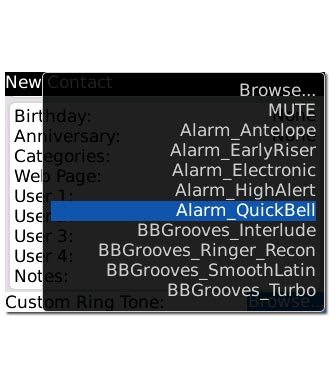
Highlight the required ringtone and press the Navigation key.

Step 21 of 23

Save and exit

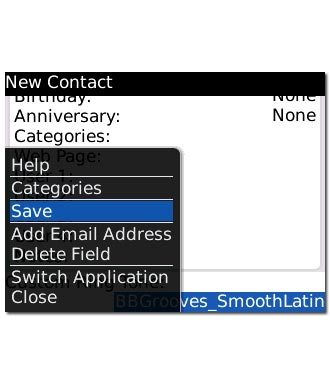
Press the Menu key.

Step 22 of 23

Save and exit

Scroll to Save and press the Navigation key.

Step 23 of 23

Save and exit

Press Disconnect to return to standby mode.

Find "Add Contact"

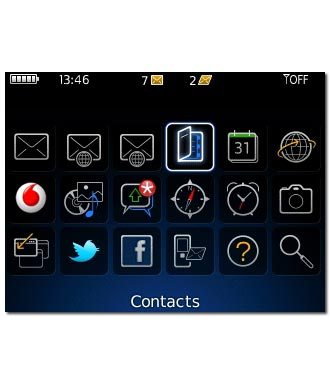
Press the Menu key.
Scroll to Contacts and press the Navigation key.
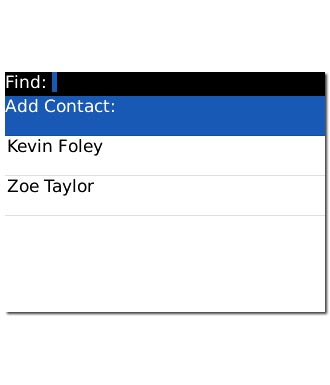
Scroll to Add Contact and press the Navigation key.
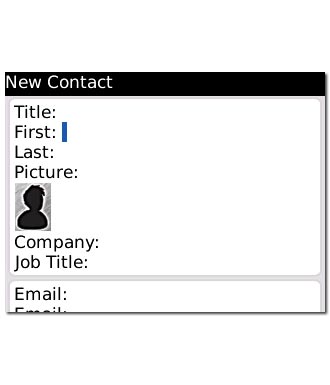
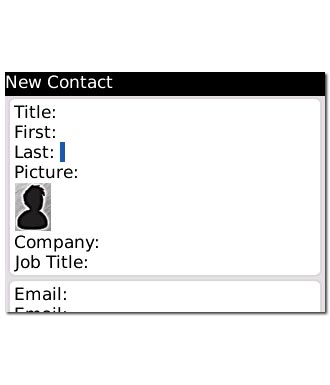
Enter name

Highlight the field next to First and key in the required first name.
Highlight the field next to Last and key in the required last name.
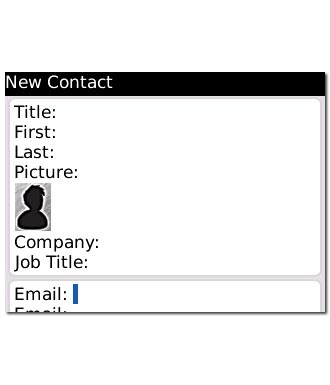
Enter email address

Highlight the field next to Email and key in the required email address.
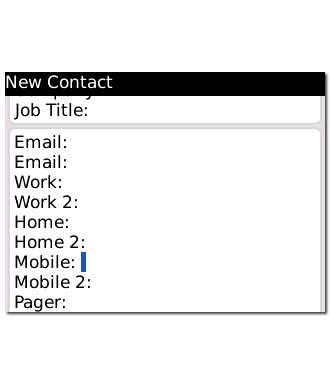
Enter phone number

Highlight the field next to the required number type and key in the required phone number.
Always begin phone numbers with a + followed by the country code, even for local phone numbers. This ensures that the phone numbers can be called even when you are abroad.
Add more information

You can add more information to the contact. The following steps show two examples.
Choose one of the following options:
Assign picture, go to 5a.
Assign ringtone, go to 5b.
BlackBerry 8520 Curve

5a - Assign picture

Press the Navigation key.
Scroll to Add Picture and press the Navigation key.
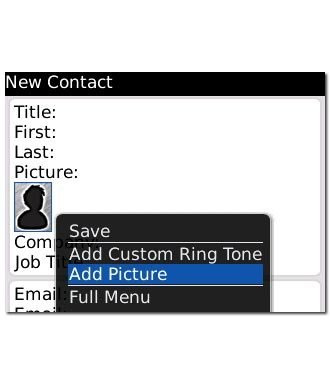
To use a saved picture:
Go to the required folder.
Highlight the required picture and press the Navigation key.
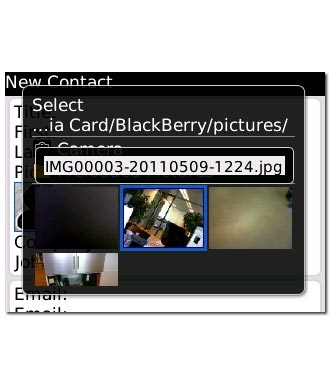
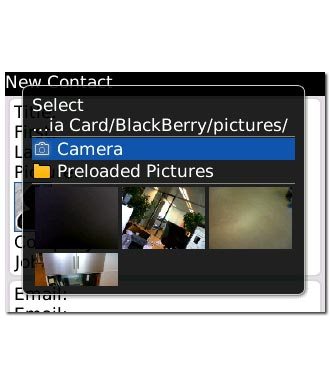
To take a new picture:
Scroll to Camera and press the Navigation key.
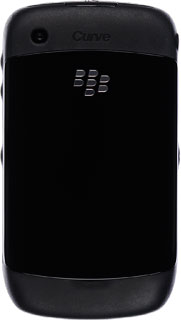
Point the camera lens at the required object and press the Camera key to take the picture.
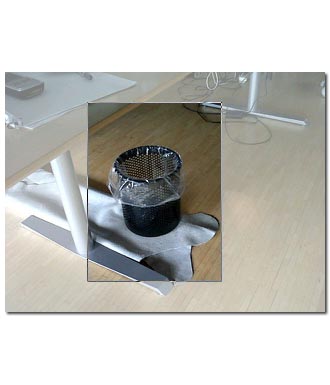
Move the frame to the required position to select the required section.
Press the Menu key.
Scroll to Crop and Save and press the Navigation key.
5b - Assign ringtone

Press the Navigation key.
Press Add Custom Ring Tone and press the Navigation key.
Scroll to Browse... next to Custom Ring Tone and press the Navigation key.
Highlight the required ringtone and press the Navigation key.
Save and exit

Press the Menu key.
Scroll to Save and press the Navigation key.
Press Disconnect to return to standby mode.

Get information on...

Or select...

Another device
4g accessories icon-app-store basket-change battery-life battery bill-pay-phones-icon 4C91DB73-75FE-4565-8F69-BC6C675B1EA1 bin block Brands broadband-icon broadband calendar call camera cases Chat chevron-down chevron-left chevron-right chevron-up close close collections€€ community continuous contract dashboard data download-square Download edit error-circle eye facebook filters folder go identity Less letters location Memory menu message mobile my-vodafone network_signal operating-system orders payg-phones-icon F86C85F6-FFFF-4C62-8F9A-45D7251FC836 payment photos play-store play plus rating report return roaming screen-size search secure-net shopping sim spinner squares technology tick-simple top-up top-up TV twitter value vf-tv-icon vodafone warning Weight world
Close dialog
Skip to content

Login to My Vodafone

Close dialog
Skip to content

Register with My Vodafone