1. Find "Contacts"
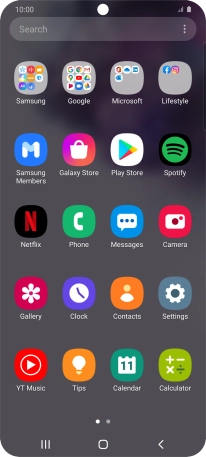
Slide your finger upwards on the screen.
![](http://wmstatic.global.ssl.fastly.net/ml/7140723-f-35dc4cf4-62a0-4781-b91c-95aafcb2581d.png?width=206&height=462)
Press Contacts.
![](http://wmstatic.global.ssl.fastly.net/ml/7140723-f-c2858e10-e54c-4bab-94c8-86658bb44861.png?width=206&height=462)
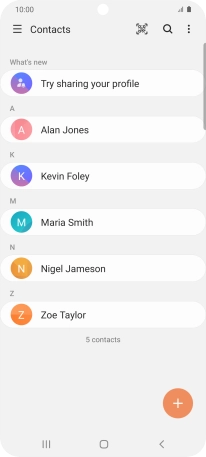
2. Create contact
Press the new contact icon.
![](http://wmstatic.global.ssl.fastly.net/ml/7140723-f-3efa04ff-768d-4f38-b0cf-1b962c84bae6.png?width=206&height=462)
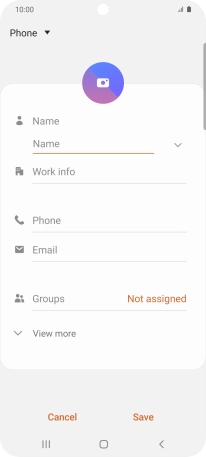
3. Select address book
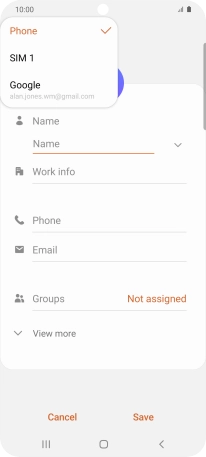
Press the address book drop down list.
![](http://wmstatic.global.ssl.fastly.net/ml/7140723-f-478c451c-95c9-47d4-95cb-d362e69abc90.png?width=206&height=462)
Press Phone.
![](http://wmstatic.global.ssl.fastly.net/ml/7140723-f-3c7fd8f3-e923-4fac-81c3-36fe0c7e1432.png?width=206&height=462)
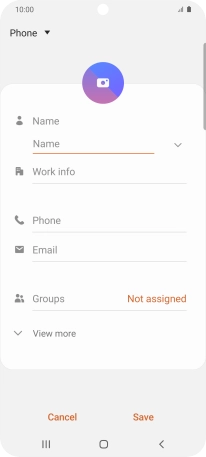
4. Enter name
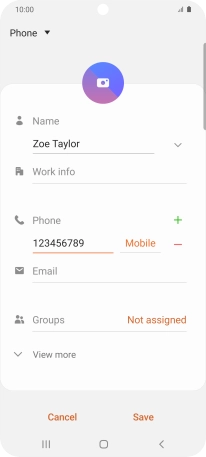
Press Name and key in the required name.
![](http://wmstatic.global.ssl.fastly.net/ml/7140723-f-0959a6d5-cade-4e36-b808-1ed2b103c482.png?width=206&height=462)
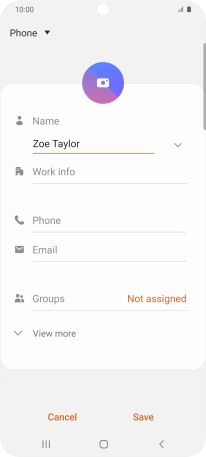
5. Enter phone number
Press Phone and key in the required phone number.
Follow the instructions on the screen to add more information such as an email address and a personal ring tone.
![](http://wmstatic.global.ssl.fastly.net/ml/7140723-f-8249d601-0c5b-42ac-b3bb-61b03bbc6e0d.png?width=206&height=462)
6. Save contact
Press Save.
![](http://wmstatic.global.ssl.fastly.net/ml/7140723-f-7174ad2c-074a-4e61-8006-bd3ed3cf5ac3.png?width=206&height=462)
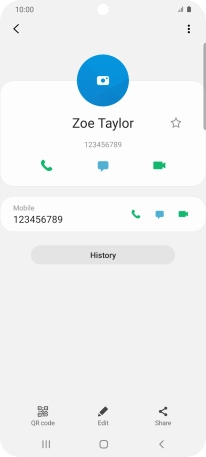
7. Return to the home screen
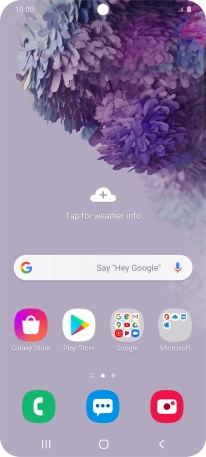
Press the Home key to return to the home screen.
![](http://wmstatic.global.ssl.fastly.net/ml/7140723-f-3669742a-a246-4c02-bbcb-a4dd96d00f3f.png?width=206&height=462)