1. Find "Contacts"
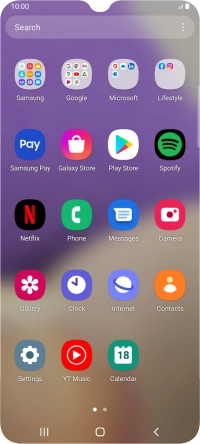
Slide your finger upwards on the screen.
![](http://wmstatic.global.ssl.fastly.net/ml/7140723-f-4b1afe33-533e-4ed3-a28a-0f34abb195d0.png?width=200&height=448)
Press Contacts.
![](http://wmstatic.global.ssl.fastly.net/ml/7140723-f-a221b6b4-fe56-4065-a75a-b483364dbcba.png?width=200&height=448)
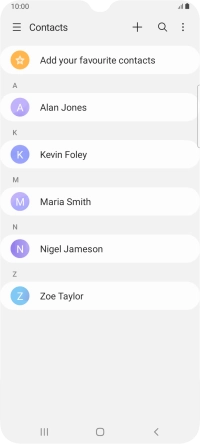
2. Create contact
Press the new contact icon.
![](http://wmstatic.global.ssl.fastly.net/ml/7140723-f-f47caa08-8917-4a81-b23c-747907d49aaa.png?width=200&height=448)
3. Select address book
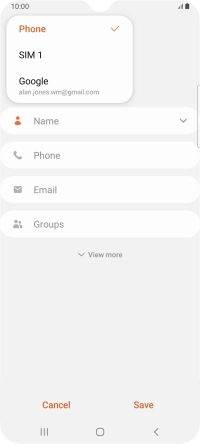
Press the address book drop down list.
![](http://wmstatic.global.ssl.fastly.net/ml/7140723-f-8fd95274-5635-4937-9c4e-94da57411008.png?width=200&height=448)
Press Phone.
![](http://wmstatic.global.ssl.fastly.net/ml/7140723-f-b6700ae1-bfb0-4a33-8308-de0a9423a37e.png?width=200&height=448)
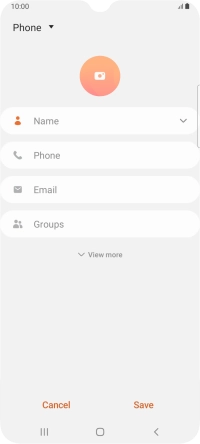
4. Enter name
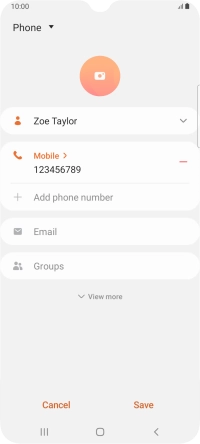
Press Name and key in the required name.
![](http://wmstatic.global.ssl.fastly.net/ml/7140723-f-8fd95274-5635-4937-9c4e-94da57411008.png?width=200&height=448)
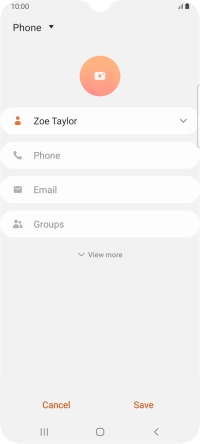
5. Enter phone number
Press Phone and key in the required phone number.
Follow the instructions on the screen to add more information such as an email address and a personal ring tone.
![](http://wmstatic.global.ssl.fastly.net/ml/7140723-f-d0faa220-2ffb-4ab2-b5f7-ee358adcec2c.png?width=200&height=448)
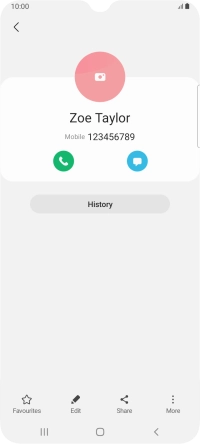
6. Save contact
Press Save.
![](http://wmstatic.global.ssl.fastly.net/ml/7140723-f-007e64c6-1235-49e0-943d-80362e095888.png?width=200&height=448)
7. Return to the home screen
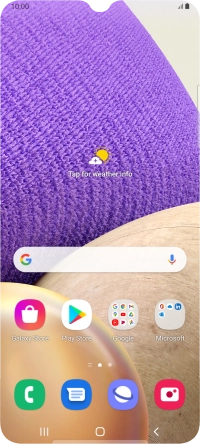
Press the Home key to return to the home screen.
![](http://wmstatic.global.ssl.fastly.net/ml/7140723-f-cc23c386-1393-4336-995b-57d1255aa854.png?width=200&height=448)