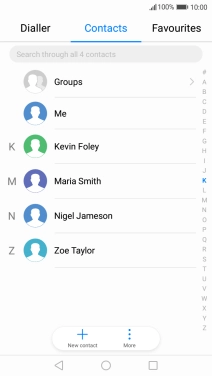
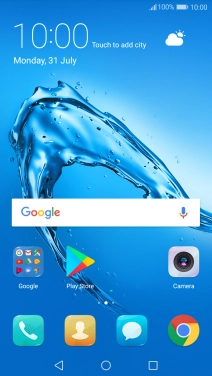
1. Open the address book
Press the address book icon.
![](http://wmstatic.global.ssl.fastly.net/ml/7140723-f-39befb20-14b3-44d1-9453-e1ff2827ee25.png?width=212&height=380)
2. Create contact
Press New contact.
![](http://wmstatic.global.ssl.fastly.net/ml/7140723-f-1b2155fc-6576-4fb0-b0b4-ee9409648a67.png?width=212&height=380)
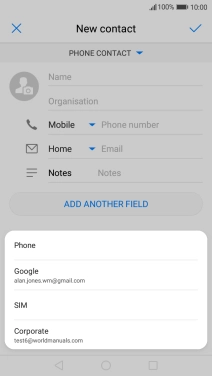
3. Select address book
Press the address book drop down list.
![](http://wmstatic.global.ssl.fastly.net/ml/7140723-f-9be5e087-4400-407f-a3e2-b98050e033c5.png?width=212&height=380)
Press Phone.
![](http://wmstatic.global.ssl.fastly.net/ml/7140723-f-ba202c3f-e5f2-4709-8c29-150d52b3d641.png?width=212&height=380)
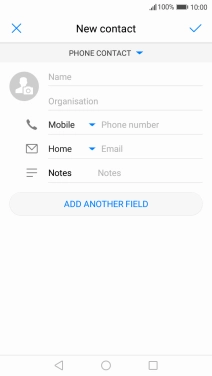
4. Enter name
Press Name and key in the name.
![](http://wmstatic.global.ssl.fastly.net/ml/7140723-f-9be5e087-4400-407f-a3e2-b98050e033c5.png?width=212&height=380)
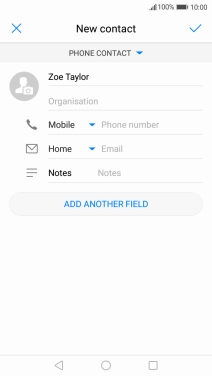
5. Enter phone number
Press Phone number and key in the required phone number.
Follow the instructions on the screen to add more information such as an email address and a personal ring tone.
![](http://wmstatic.global.ssl.fastly.net/ml/7140723-f-ae8c97e1-5533-4577-b565-9b42a3585ea6.png?width=212&height=380)
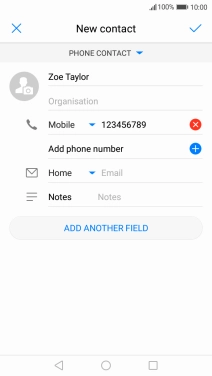
6. Save contact
Press the confirm icon.
![](http://wmstatic.global.ssl.fastly.net/ml/7140723-f-047437a7-03fb-4384-9397-77a264e5e9e3.png?width=212&height=380)
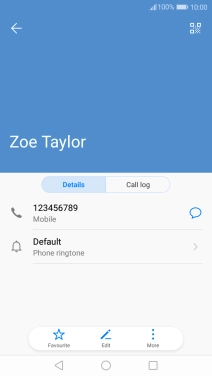
7. Return to the home screen
Press the Home key to return to the home screen.
![](http://wmstatic.global.ssl.fastly.net/ml/7140723-f-f040cc54-52b5-4ff2-804d-9b812f4d34d9.png?width=212&height=380)