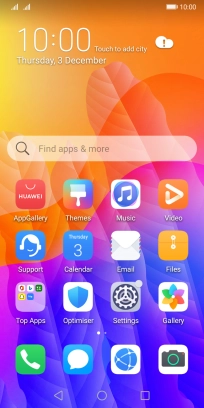
1 Find "Access Point Names (APNs)"
Press Settings.
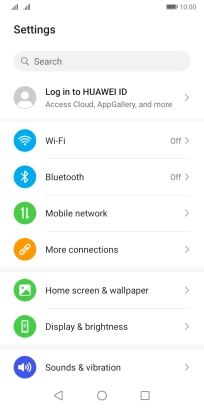
Press Mobile network.
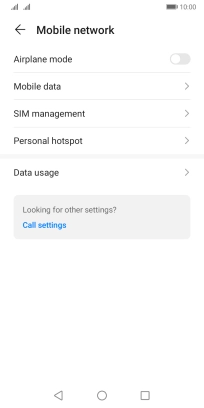
Press Mobile data.
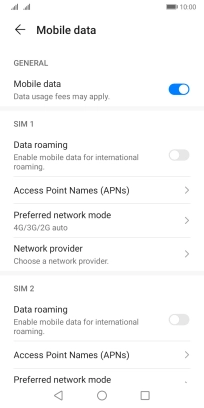
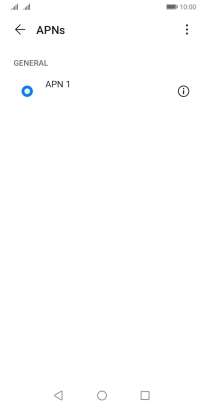
Press Access Point Names (APNs) below the required SIM.
2 Create new data connection
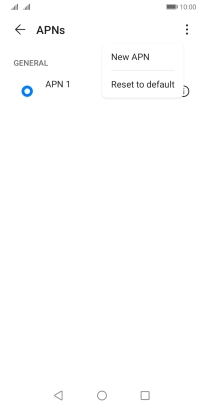
Press the menu icon.
Press New APN.
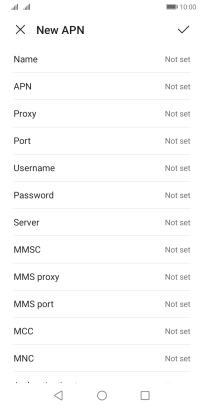
3 Enter a name for the connection
Press Name.
Key in Vodafone Internet and press OK.
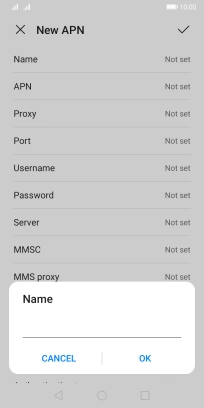
Vodafone Internet
4 Enter APN
Press APN.

Key in live.vodafone.com and press OK.
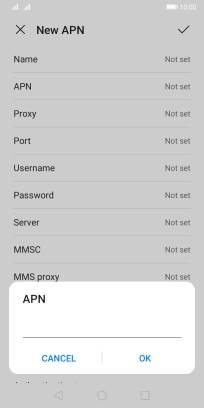
live.vodafone.com
5 Enter country code
Press MCC.

Key in 272 and press OK.
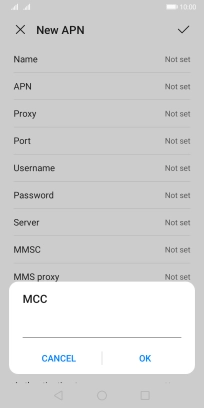
272
6 Enter network code
Press MNC.

Key in 01 and press OK.
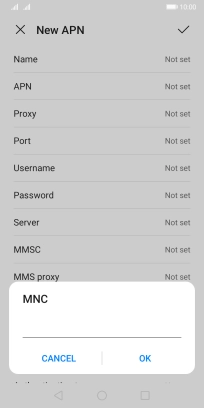
01
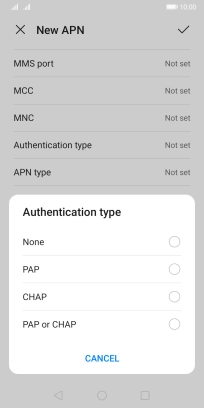
7 Select authentication type
Press Authentication type.
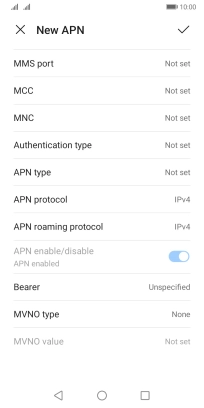
Press PAP.
8 Enter APN type
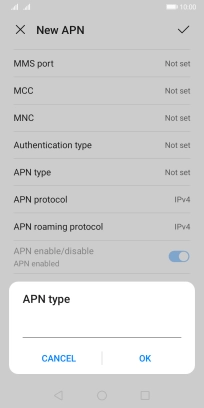
Press APN type.

Key in default and press OK.
default
9 Save data connection
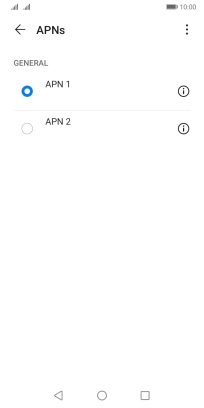
Press the confirm icon.

Press the field next to the required data connection to activate it.
10 Return to the home screen
Press the Home key to return to the home screen.


