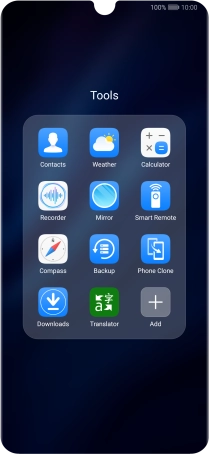
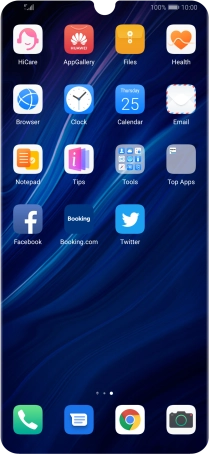
1. Find "Contacts"
Press Tools.
![](http://wmstatic.global.ssl.fastly.net/ml/7140723-f-43815ca2-58ee-4b61-8feb-3afc1cc5ecb1.png?width=210&height=454)
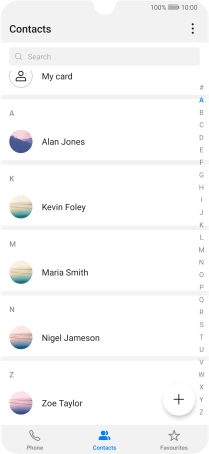
Press Contacts.
![](http://wmstatic.global.ssl.fastly.net/ml/7140723-f-04046dc9-8c55-457e-a941-6dc902a56453.png?width=210&height=454)
2. Create contact
Press the new contact icon.
![](http://wmstatic.global.ssl.fastly.net/ml/7140723-f-917a8ecb-d922-4ad6-aaa2-b8f2dcee9ee4.png?width=210&height=454)
3. Select address book
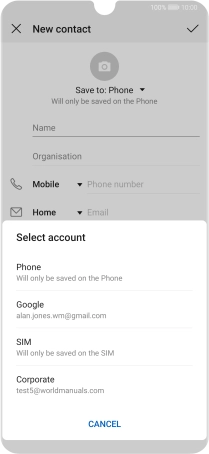
Press the address book drop down list.
![](http://wmstatic.global.ssl.fastly.net/ml/7140723-f-2d88d084-30b8-4514-ba1f-74dd5976d18b.png?width=210&height=454)
Press Phone.
![](http://wmstatic.global.ssl.fastly.net/ml/7140723-f-016d17fe-c249-4e71-9c89-7129163de434.png?width=210&height=454)
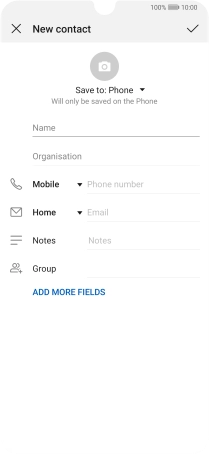
4. Enter name
Press Name and key in the name.
![](http://wmstatic.global.ssl.fastly.net/ml/7140723-f-2d88d084-30b8-4514-ba1f-74dd5976d18b.png?width=210&height=454)
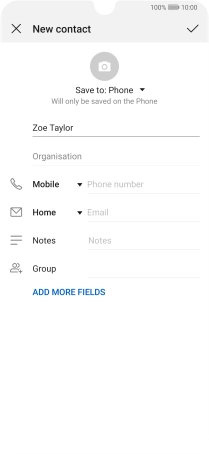
5. Enter phone number
Press Phone number and key in the required phone number.
Follow the instructions on the screen to add more information such as an email address and a personal ring tone.
![](http://wmstatic.global.ssl.fastly.net/ml/7140723-f-3aee0952-1ba9-4137-ae87-7a0f911de939.png?width=210&height=454)
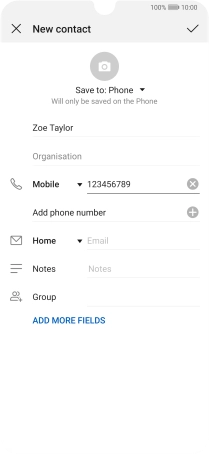
6. Save contact
Press the confirm icon.
![](http://wmstatic.global.ssl.fastly.net/ml/7140723-f-6840a517-c93b-4829-b1c3-795f14392104.png?width=210&height=454)
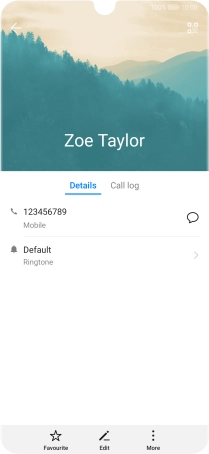
7. Return to the home screen
Slide your finger upwards starting from the bottom of the screen to return to the home screen.
![](http://wmstatic.global.ssl.fastly.net/ml/7140723-f-e45c2e60-426c-4a83-a09f-1d8760de4b90.png?width=210&height=454)