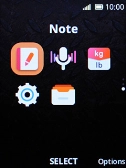
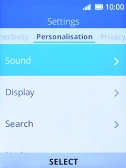
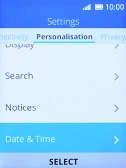
1. Find "Date & Time"
Press the Navigation key.
![](http://wmstatic.global.ssl.fastly.net/ml/7140723-f-3c85e59f-3eac-4eb6-993d-64046c2b2d63.png?width=126&height=170)
Select the settings icon.
![](http://wmstatic.global.ssl.fastly.net/ml/7140723-f-80ed3b77-5f8b-42d1-92b0-542be9e96828.png?width=126&height=170)
Select Personalisation.
![](http://wmstatic.global.ssl.fastly.net/ml/7140723-f-4f75f3d0-e427-4621-8a03-ba744820d615.png?width=126&height=170)
Select Date & Time.
![](http://wmstatic.global.ssl.fastly.net/ml/7140723-f-5c14cf5a-db99-4460-a804-18c1c841ea75.png?width=126&height=170)
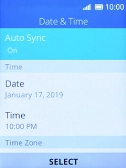
2. Turn on automatic date and time update
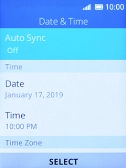
Select Auto Sync.
![](http://wmstatic.global.ssl.fastly.net/ml/7140723-f-331e2c9e-40bc-4c6f-bf9f-9b8f0e86f938.png?width=126&height=170)
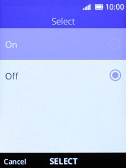
Select On to turn on the function.
![](http://wmstatic.global.ssl.fastly.net/ml/7140723-f-f407f663-00fe-44b6-9758-736dca63969f.png?width=126&height=170)
3. Return to the home screen
Press Disconnect several times to return to the home screen.
![](http://wmstatic.global.ssl.fastly.net/ml/7140723-f-1e3ddd8f-31b6-4f7a-90c1-eab5e079737d.png?width=126&height=170)