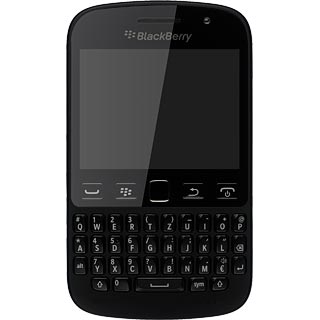
Find "Contacts"
Press Contacts.
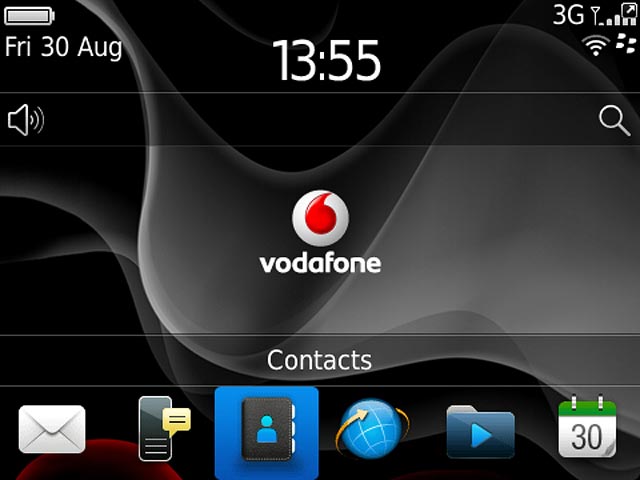
Create contact
Press New Contact.
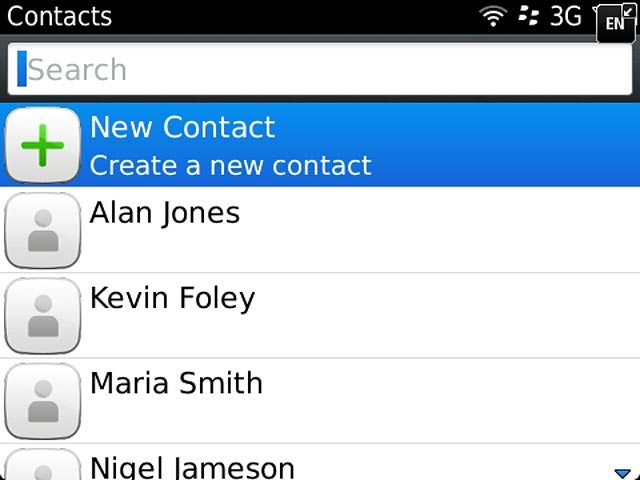
Enter name
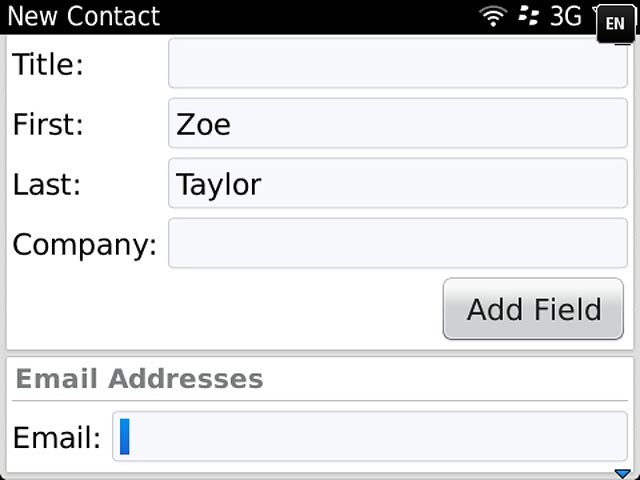
Key in the required first name.
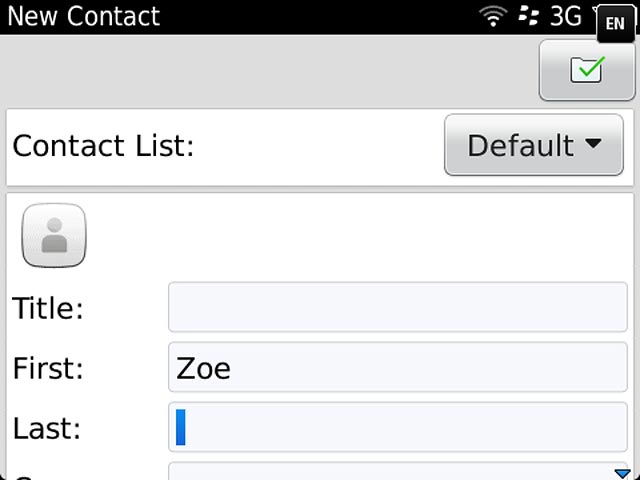
Press the field next to "Last" and key in the required last name.
Press the field next to "Last" and key in the required last name.
Enter email address
Press the field next to "Email" and key in the required email address.
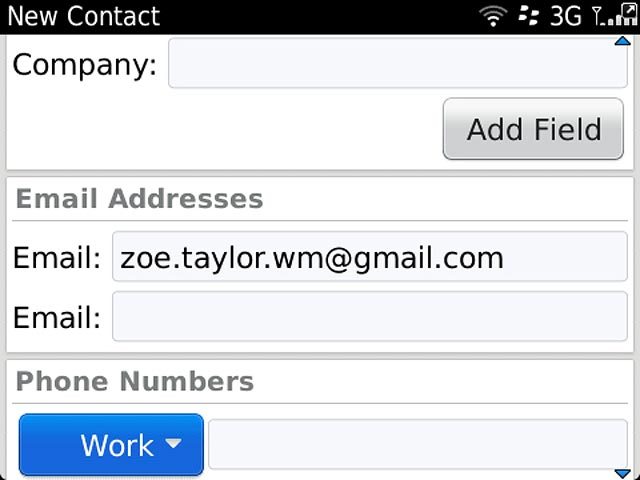
Enter phone number
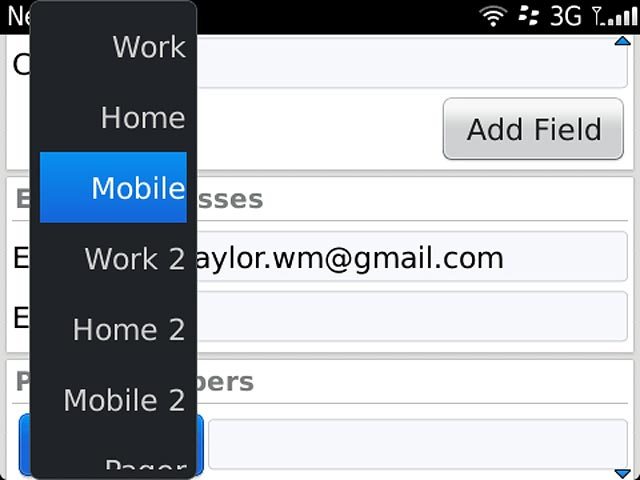
Press the drop down list below "Phone Numbers".
Press the required number type.
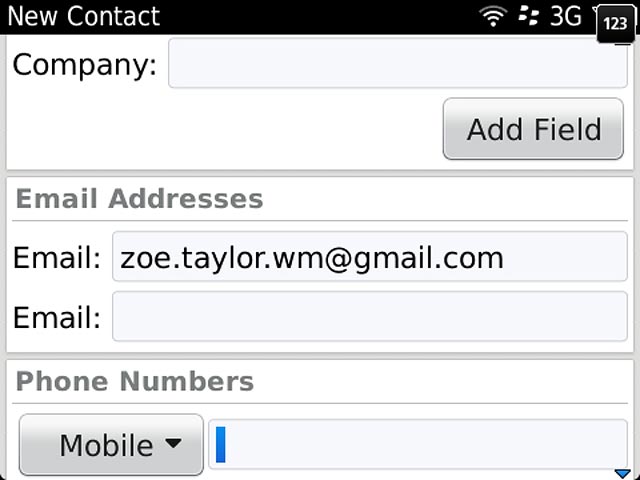
Press the field below "Phone Numbers" and key in the required phone number.
Add more information
You can add more information to the contact. The following steps show two examples:
Assign picture, go to 6a.
Assign ring tone, go to 6b.
Assign picture, go to 6a.
Assign ring tone, go to 6b.

6a - Assign picture
Press the picture icon.
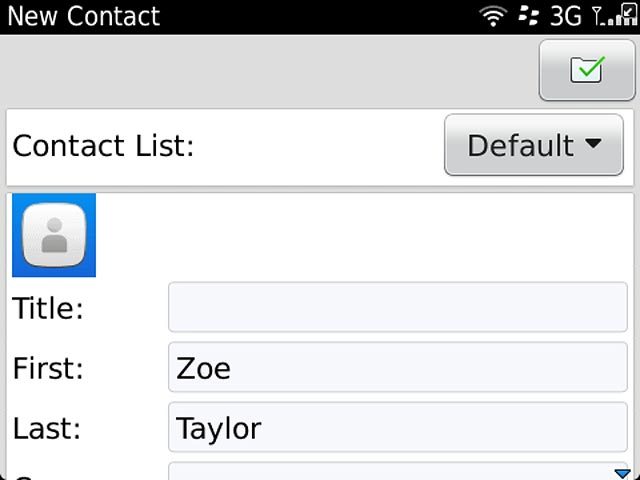
To take a new picture:
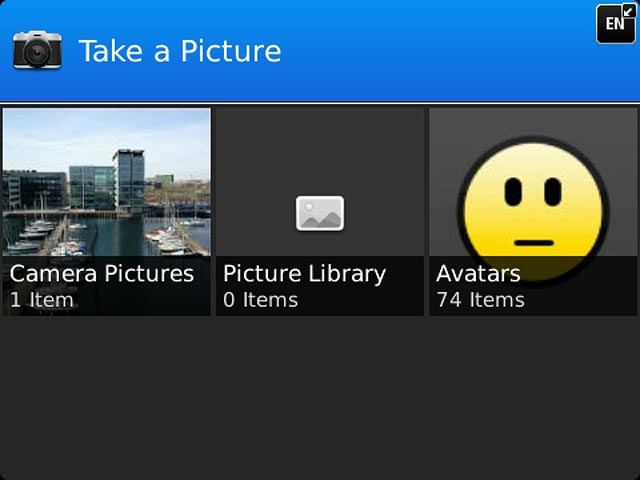
Press Take a Picture.
Press Take a Picture.
Point the camera lens at the required object and press the camera icon.

To assign a saved picture:
Go to the required folder.
Press the required picture.
Go to the required folder.
Press the required picture.

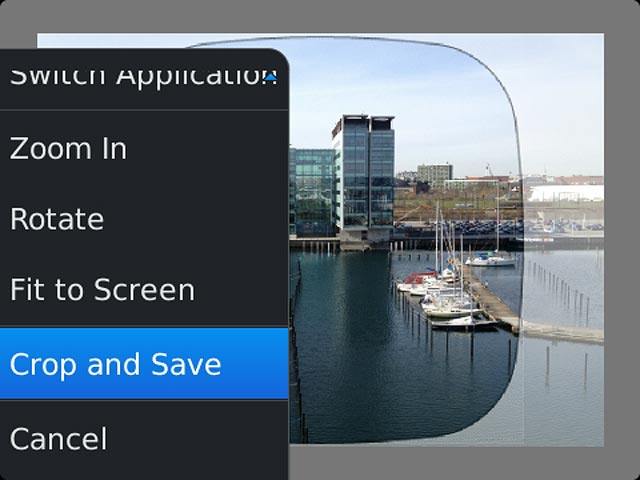
Drag the frame to the required position to select the required section.
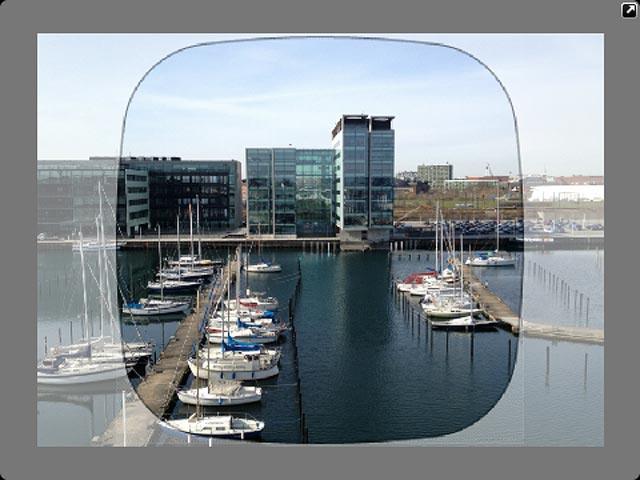
Press the Menu key.
Press Crop and Save.
6b - Assign ring tone
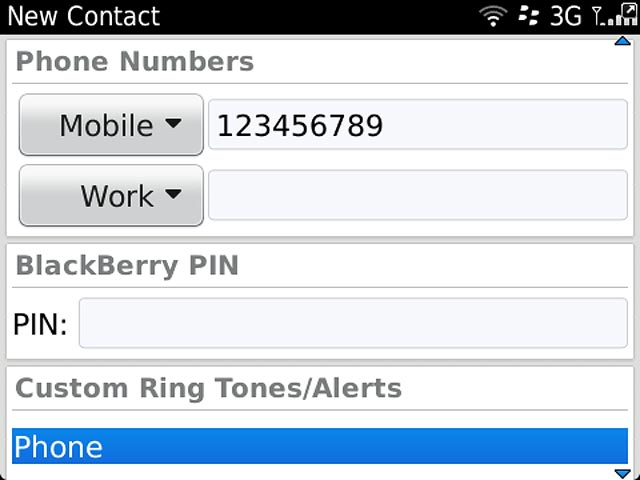
Press "Phone" below "Custom Ring Tones/Alerts".
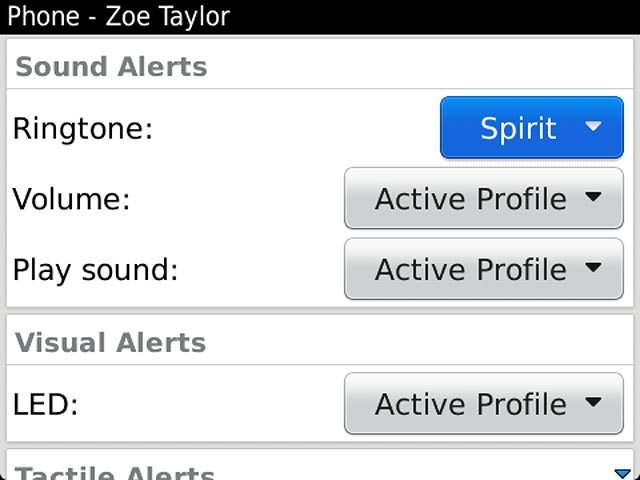
Press Ringtone.
Press the required ring tone.
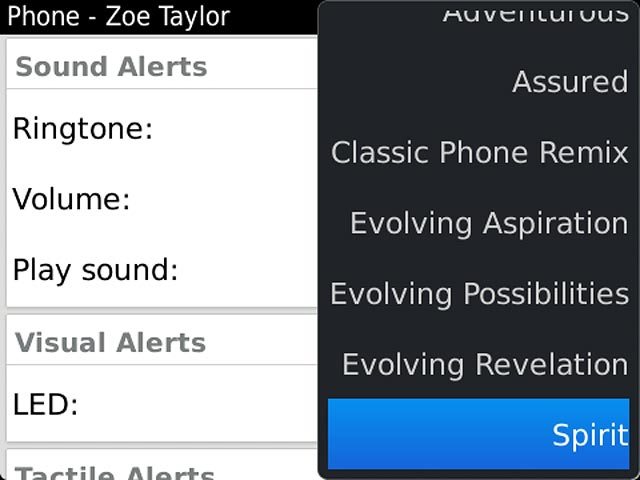
Press Try it to hear the ring tone.
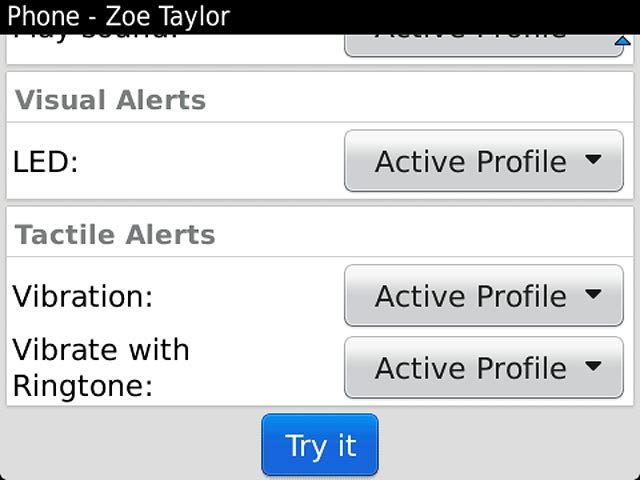
Once you've found a ring tone you like, press the Menu key.
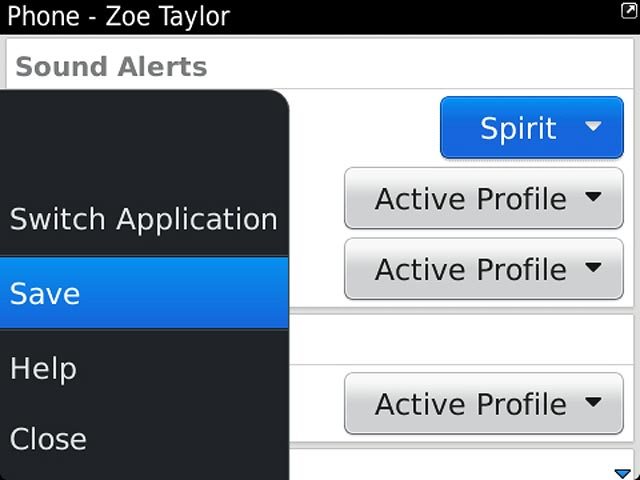
Press Save.
Save contact
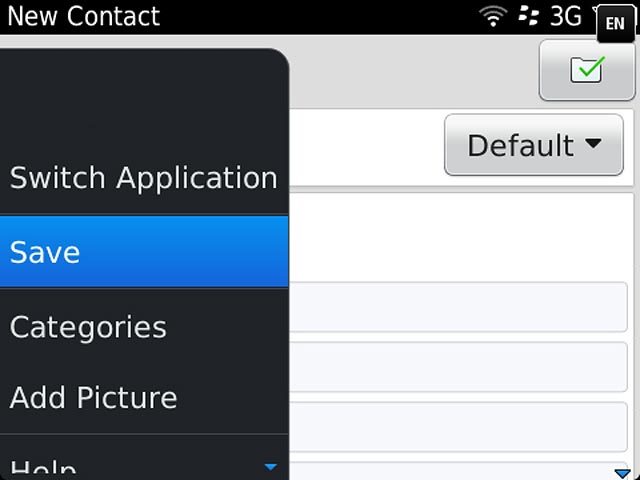
Press the Menu key.
Press Save.
Return to the home screen
Press Disconnect to return to the home screen.
