1. Find "iCloud Backup"
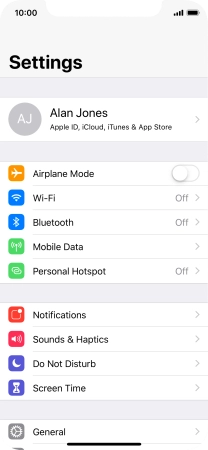
Press Settings.
![](http://wmstatic.global.ssl.fastly.net/ml/7140723-f-1409db66-831d-44b9-9332-5a8ff531941f.png?width=208&height=454)
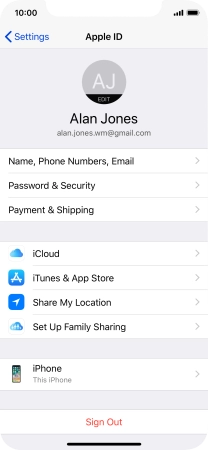
Press your Apple ID.
![](http://wmstatic.global.ssl.fastly.net/ml/7140723-f-55d4febe-b337-418d-9d82-0494cbd0ffaf.png?width=208&height=454)
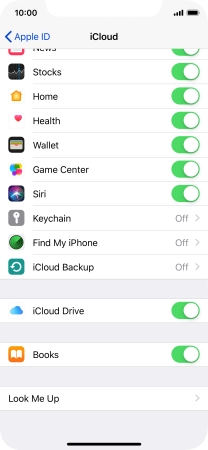
Press iCloud.
![](http://wmstatic.global.ssl.fastly.net/ml/7140723-f-4b943b04-ec9e-48f6-82bb-b8f37f68d75d.png?width=208&height=454)
Press iCloud Backup.
![](http://wmstatic.global.ssl.fastly.net/ml/7140723-f-e61f4a7e-eba0-45bb-9641-97f722e4f6fe.png?width=208&height=454)
2. Turn on automatic iCloud backup
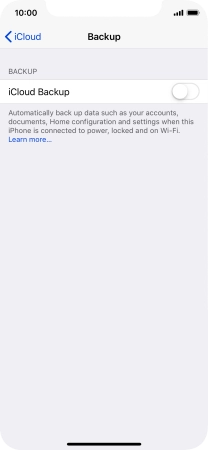
Press the indicator next to "iCloud Backup" to turn on the function.
![](http://wmstatic.global.ssl.fastly.net/ml/7140723-f-7ec8f9b5-d83f-4c32-9619-265aebbc8ce3.png?width=208&height=454)
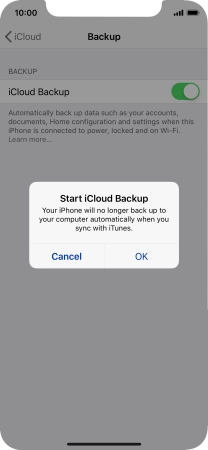
Press OK.
The phone memory will be backed up automatically when your phone is charging, the screen lock is turned on and a Wi-Fi connection is established.
![](http://wmstatic.global.ssl.fastly.net/ml/7140723-f-abdda664-884e-47b8-bac6-9ba1ca9cbf52.png?width=208&height=454)
3. Back up phone memory to iCloud
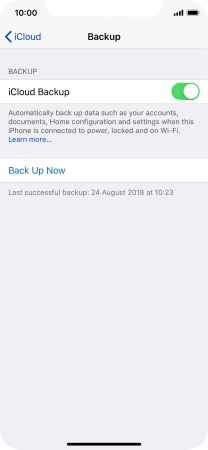
Press Back Up Now and wait while the phone memory is backed up.
![](http://wmstatic.global.ssl.fastly.net/ml/7140723-f-5a80b732-8af0-4067-befc-a910829a43aa.png?width=208&height=454)
4. Return to the home screen
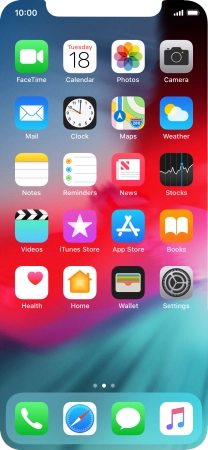
Slide your finger upwards starting from the bottom of the screen to return to the home screen.
![](http://wmstatic.global.ssl.fastly.net/ml/7140723-f-5a80b732-8af0-4067-befc-a910829a43aa.png?width=208&height=454)