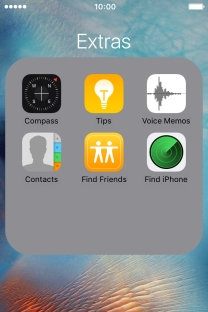
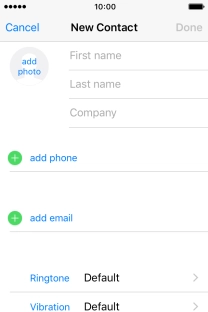
1. Create contact
Press Extras.


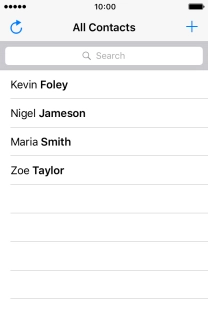
1. Create contact
Press Contacts.


1. Create contact
Press the new contact icon.


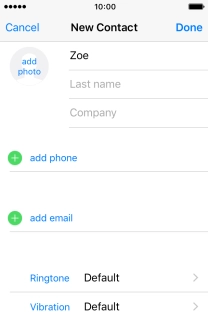
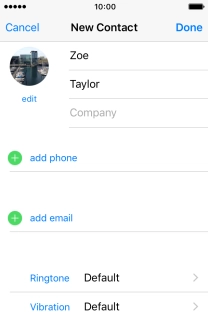
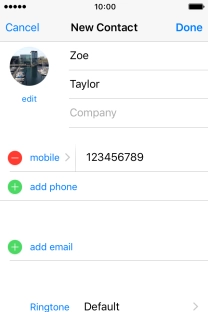
2. Enter name
Press First name and key in the first name.


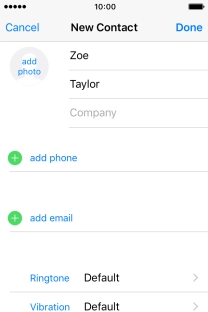
2. Enter name
Press Last name and key in the last name.


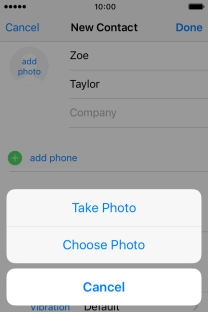
3. Add picture
Press add photo.


3. Add picture
Press Choose Photo and go to the required folder.


3. Add picture
Press the required picture.


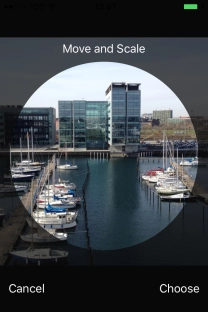
3. Add picture
Drag the frame to the required position to select the required detail and press Choose.


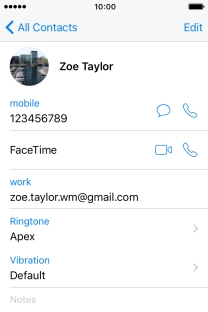
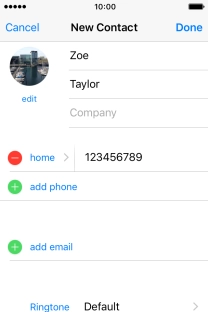
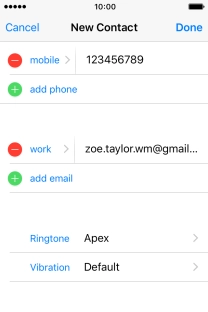
4. Enter phone number
Press add phone and key in the required phone number.


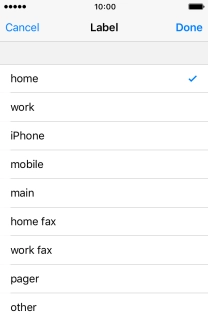
5. Select number type
Press the field next to the phone number.


5. Select number type
Press the required number type.


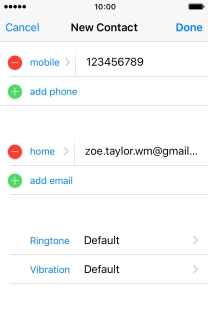
6. Enter email address
Press add email and key in the required email address.


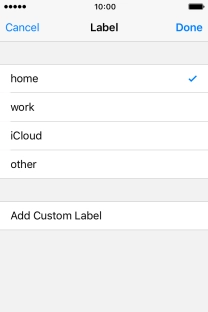
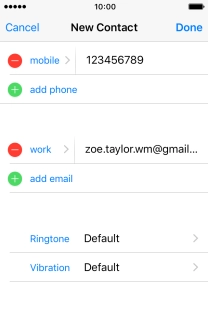
7. Select email type
Press the field next to the email address.


7. Select email type
Press the required email type.


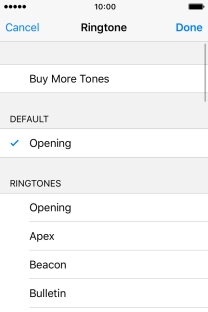
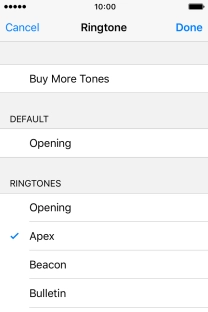
8. Add personal ring tone
Press Ringtone.


8. Add personal ring tone
Press the required ring tones to hear them.


8. Add personal ring tone
Once you've found a ring tone you like, press Done.


9. Save contact
Press Done.


10. Return to the home screen
Press the Home key to return to the home screen.
1. Create contact
2. Enter name
3. Add picture

4. Enter phone number
5. Select number type
6. Enter email address
7. Select email type
8. Add personal ring tone
9. Save contact
10. Return to the home screen