

Find "Data account"
Press the Navigation key.

Find "Data account"
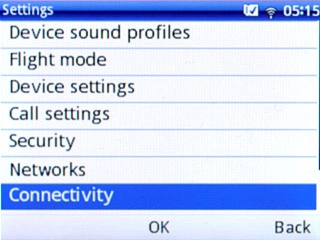
Scroll to Settings and press the Navigation key.
Find "Data account"
Scroll to Connectivity and press the Navigation key.
Find "Data account"
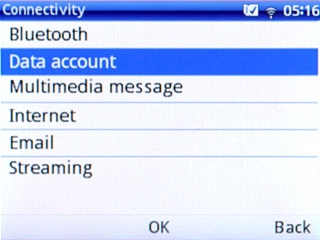
Scroll to Data account and press the Navigation key.

Create new data connection
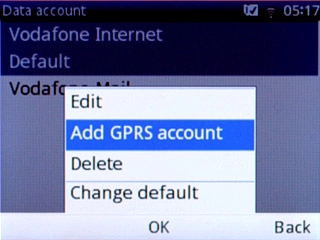
Press Options.
Create new data connection
Scroll to Add GPRS account and press the Navigation key.
Enter name
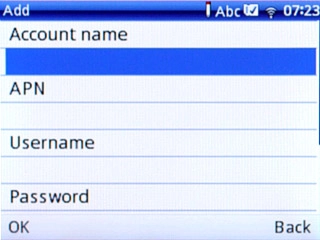
Highlight the field below Account name and key in Vodafone Mail
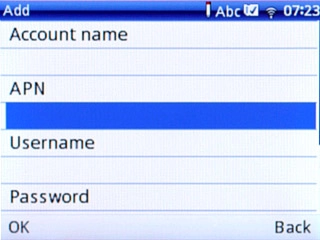
Enter APN
Highlight the field below APN.
Key in live.vodafone.com
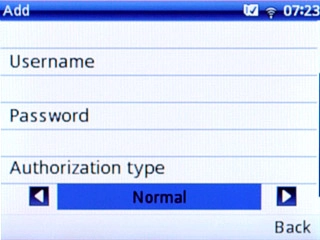
Select authentication type
Highlight the field below Authorization type.

Select authentication type
Press Navigation key right or Navigation key left to select Normal.

Save data connection
Press Done.
Save data connection
Press the Navigation key to confirm.

Save data connection
Press Disconnect to return to standby mode.
Find "Email"
Press the Navigation key.

Find "Email"
Scroll to Messaging and press the Navigation key.

Find "Email"
Scroll to the Email tab and press the Navigation key.
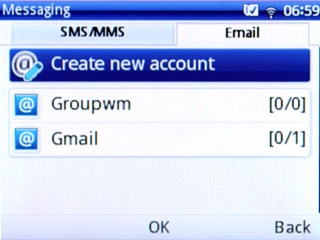
Create new email account
Scroll to Create new account and press the Navigation key.
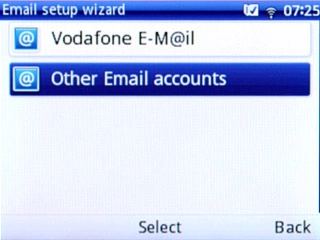
Create new email account
Scroll to Other Email accounts and press the Navigation key.
Create new email account
Press the Navigation key to confirm.

Enter email address
Key in your email address and press the Navigation key.
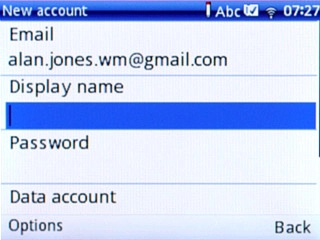
Enter sender name
Highlight the field below Display name and key in the required sender name.

Enter password
Highlight the field below Password and key in the password for your email account at your email provider.
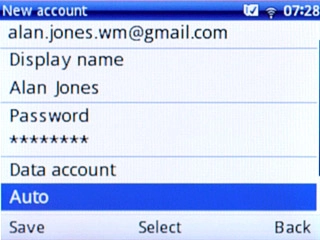
Select data connection
Highlight the field below Data account and press the Navigation key.
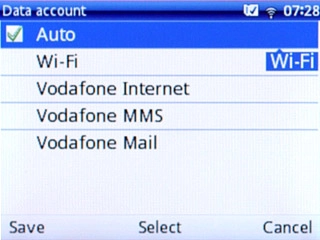
Select data connection
Scroll to Auto and press the Navigation key.

Select data connection
Press Save.
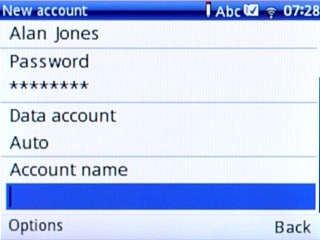
Enter email account name
Highlight the field below Account name and key in the required name.

Enter email account name
Press Options.
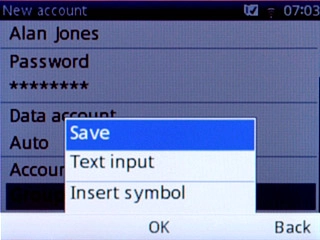
Enter email account name
Scroll to Save and press the Navigation key.
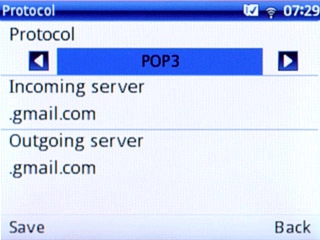
Select server type
Highlight the field below Protocol and press Navigation key right or Navigation key left to select POP3 or IMAP4 (depending on your email provider).
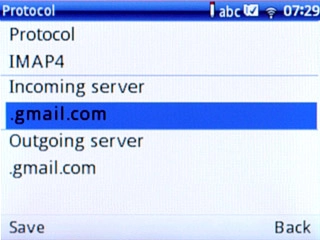
Enter incoming server
Highlight the field below Incoming server and key in the name or IP address of your email provider's incoming server.
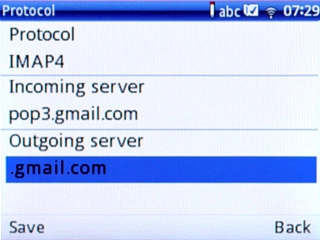
Enter outgoing server
Highlight the field below Outgoing server and key in the name or IP address of your email provider's outgoing server.

Enter outgoing server
Press Save.

Enter outgoing server
Press the Navigation key to confirm.
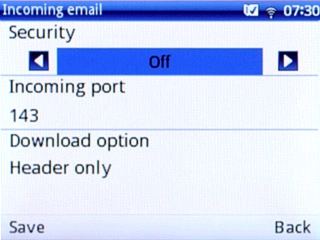
Turn SSL encryption of incoming email messages on or off
Highlight the field below Security and press Navigation key right or Navigation key left to select Off or the required encryption method.
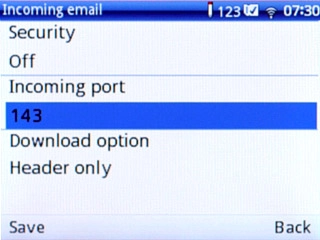
Enter incoming port
Highlight the field below Incoming port and key in your email provider's incoming port.
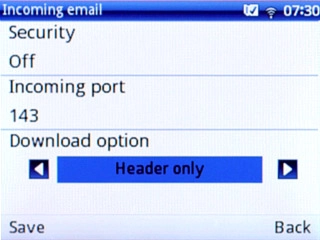
Select retrieval setting
Highlight the field below Download option and press Navigation key right or Navigation key left to select Header only or Download all.
Select retrieval setting
Press Save.
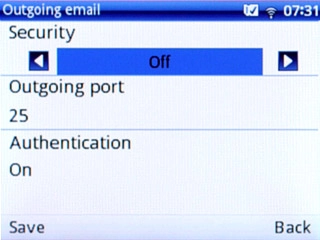
Turn SSL encryption of incoming email messages on or off
Highlight the field below Security and press Navigation key right or Navigation key left to select Off or the required encryption method.
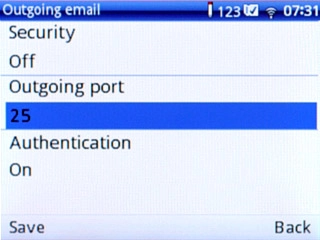
Enter outgoing port
Highlight the field below Outgoing port and key in your email provider's outgoing port.
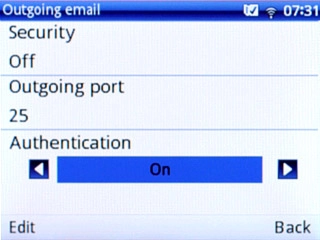
Turn SMTP authentication on or off
Highlight the field below Authentication and press Navigation key right or Navigation key left to select On or Off.

Turn SMTP authentication on or off
Press Navigation key up.

Turn SMTP authentication on or off
Press Save.
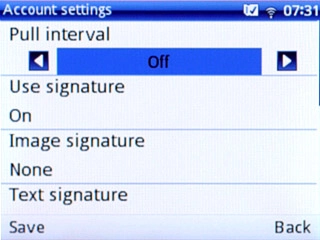
Select setting for retrieval of new email messages
Highlight the field below Pull interval and press Navigation key right or Navigation key left to select Off or the required period.
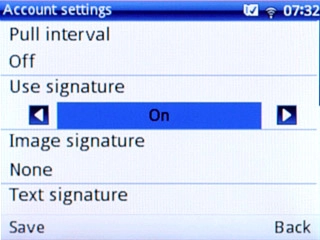
Turn signature on or off
Highlight the field below Use signature and press Navigation key right or Navigation key left to select On or Off.
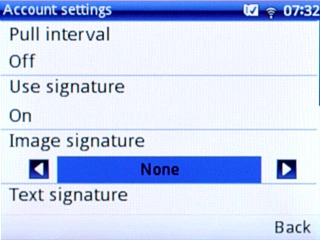
Select signature settings
If required, highlight the field below Image signature and press Navigation key right or Navigation key left to select None or From File manager.

Select signature settings
If you select From File manager:

Select signature settings
Press Options.
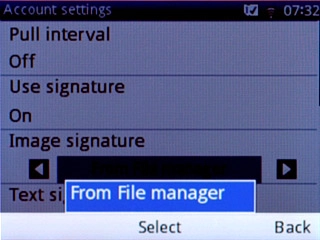
Select signature settings
Scroll to From File manager and press the Navigation key.
Go to the required folder.
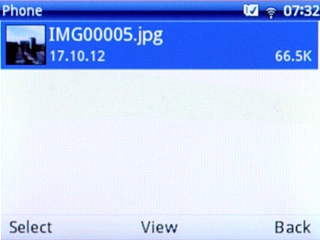
Select signature settings
Highlight the required picture and press the Navigation key.

Select signature settings
Press the Navigation key to select the picture.
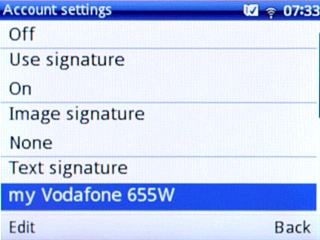
Select signature settings
Highlight the field below Text signature and press Edit.

Select signature settings
Key in the required signature and press Options.

Select signature settings
Scroll to Done and press the Navigation key.
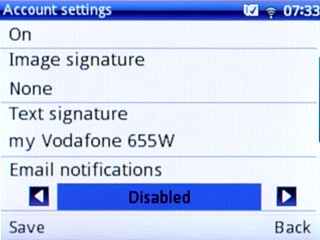
Turn email message notification on or off
Highlight the field below Email notifications and press Navigation key right or Navigation key left to select Disabled or Auto update.
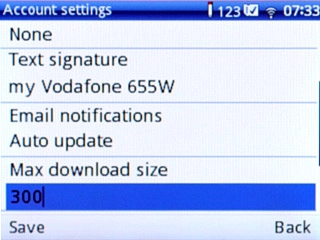
Select email message size
Highlight the field below Max download size and key in the required email message size in kb.
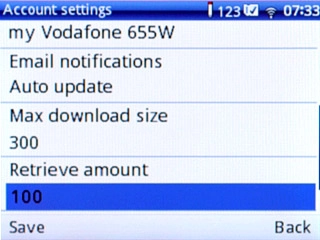
Select number email messages to be retrieved
Highlight the field below Retrieve amount and key in the required number of email messages.
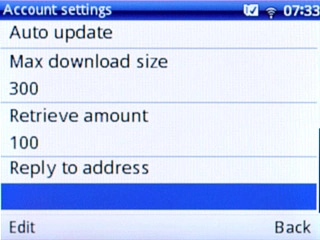
Enter reply-to address
Highlight the field below Reply to address and press Edit.
Enter reply-to address
Key in the required reply-to address and press Options.
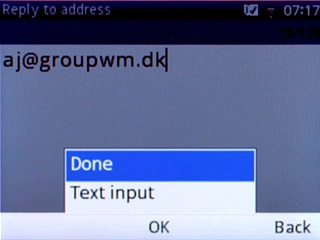
Enter reply-to address
Scroll to Done and press the Navigation key.

Enter reply-to address
Press Navigation key up.

Enter reply-to address
Press Save.

Retrieve email messages
Press the Navigation key to confirm.
Wait while your phone retrieves new email messages.

Exit
Press Disconnect to return to standby mode.
1 Find "Data account"
2 Create new data connection
3 Enter name
4 Enter APN
Key in live.vodafone.com
5 Select authentication type
6 Save data connection
7 Find "Email"
8 Create new email account
9 Enter email address
10 Enter sender name
11 Enter password
12 Select data connection
13 Enter email account name
14 Select server type
15 Enter incoming server
16 Enter outgoing server
17 Turn SSL encryption of incoming email messages on or off
18 Enter incoming port
19 Select retrieval setting
20 Turn SSL encryption of incoming email messages on or off
21 Enter outgoing port
22 Turn SMTP authentication on or off
23 Select setting for retrieval of new email messages
24 Turn signature on or off
25 Select signature settings
Go to the required folder.
26 Turn email message notification on or off
27 Select email message size
28 Select number email messages to be retrieved
29 Enter reply-to address
30 Retrieve email messages
Wait while your phone retrieves new email messages.
31 Exit